How to Repair Corrupted Windows System Files using SFC and DISM
If you have used Windows for a long enough time, you may encounter an issue with corrupted system files.
This can be due to:
- An improper system shutdown (e.g., power loss).
- A failing hard drive or SSD.
- Faulty RAM
- A failed Windows update.
- A third-party program that modifies system files (e.g., anti-virus).
- A user accidentally deleting a system file (rare, but can happen).
Corrupted system files can cause Windows to become unstable, leading to blue screens, application crashes, slow performance, and possible data loss.
In this blog post, I will show you how to initiate a Windows system repair using SFC and DISM.
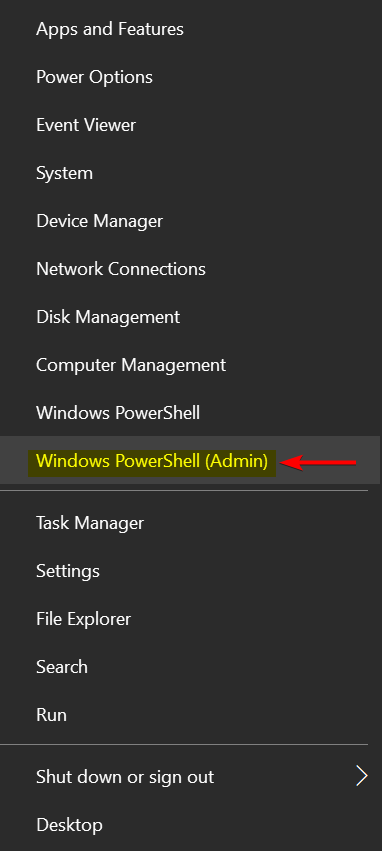
First let’s open PowerShell as Administrator (your computer may show “Command Prompt (Admin)” instead).
Now let’s type in: sfc /scannow
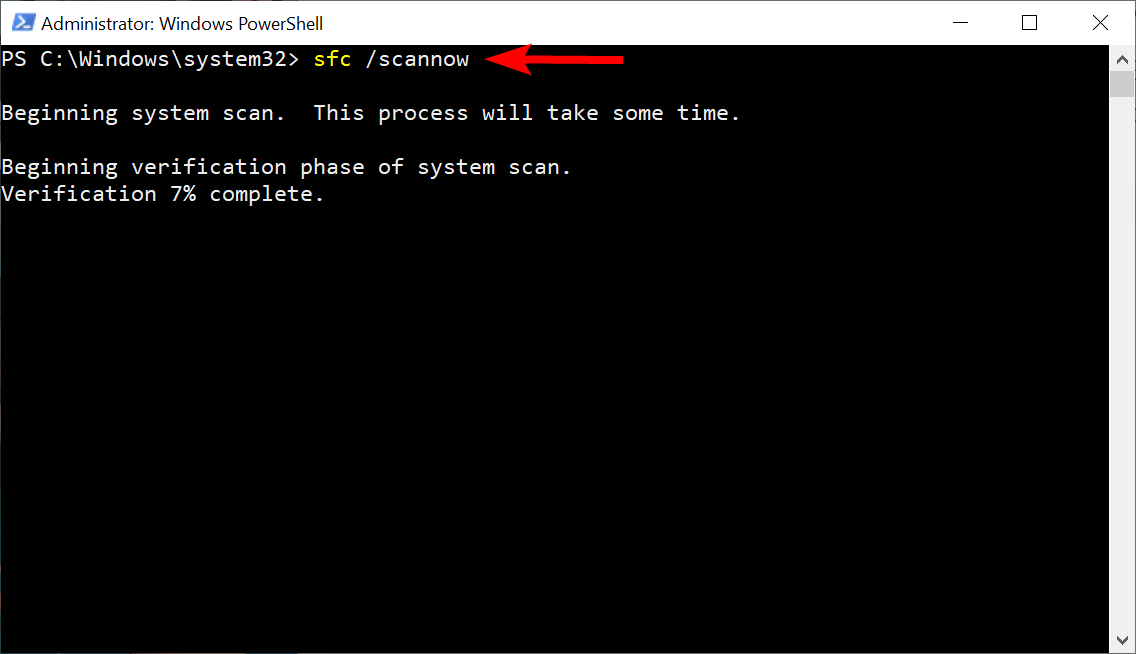
Wait for the process to complete.
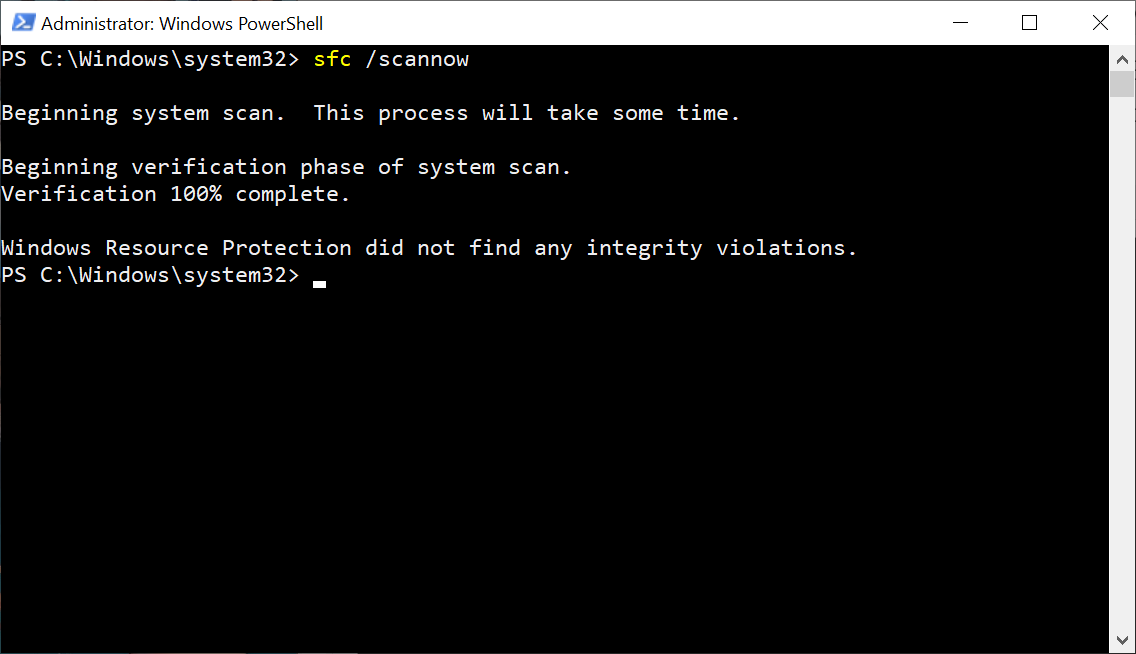
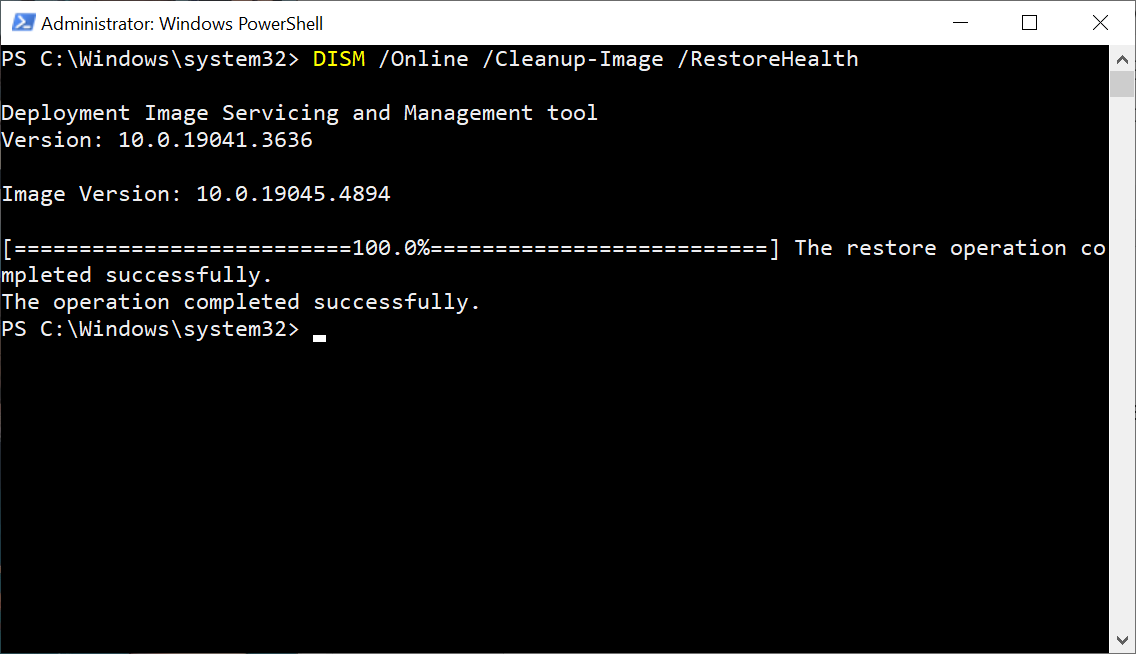
Now if SFC has found no issues (like shown in the image above), then you should be OK. However, if SFC finds issues that it cannot fix, or if you’re experiencing more significant problems, you can then run DISM. This tool can help fix issues that SFC might not be able to address. You can run it with the command: DISM /Online /Cleanup-Image /RestoreHealth
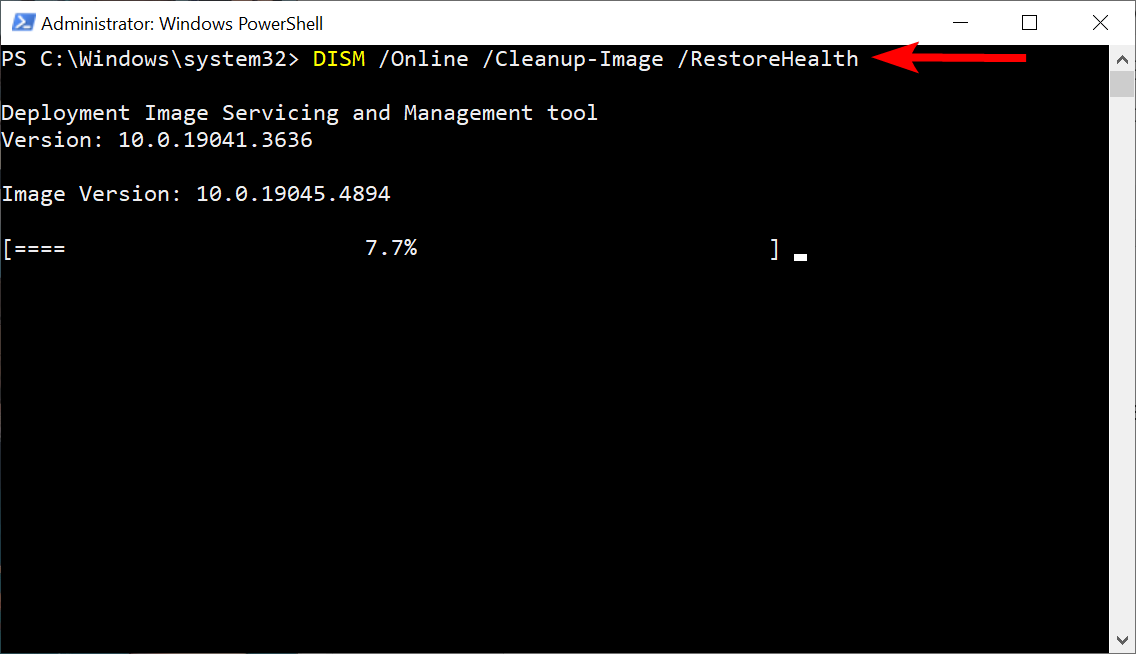
Wait for the process to complete.
Please note that in some cases, system file corruption can be too severe for these tools to resolve. If that’s the case, you may need to restore from a system backup (if available) or perform a complete re-installation of Windows.
Posted in Code Snippet, Command Prompt, Computers, Internet and Servers, Operating Systems, PowerShell, Software, Tips & Tutorials