How to Enable or Disable Snap Windows in Windows 11
In this short tutorial, I will show you how to enable and disable the Snap Windows feature in Windows 11.
Snap Windows are useful when you want to quickly arrange multiple windows on your desktop. However, they can become irritating and even a hindrance to some people, if you want to position a window on the edge of the screen without triggering auto-snap.
With that little introduction out of the way, let us begin.
- Right-click on the Windows Start icon
 and click on the “System” menu option.
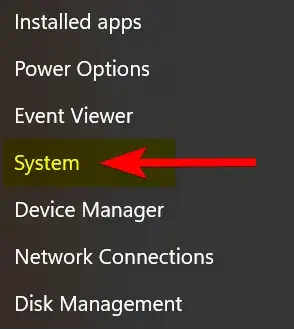
2. On the left-side panel, click on “System”, then click on the “Multitasking” option.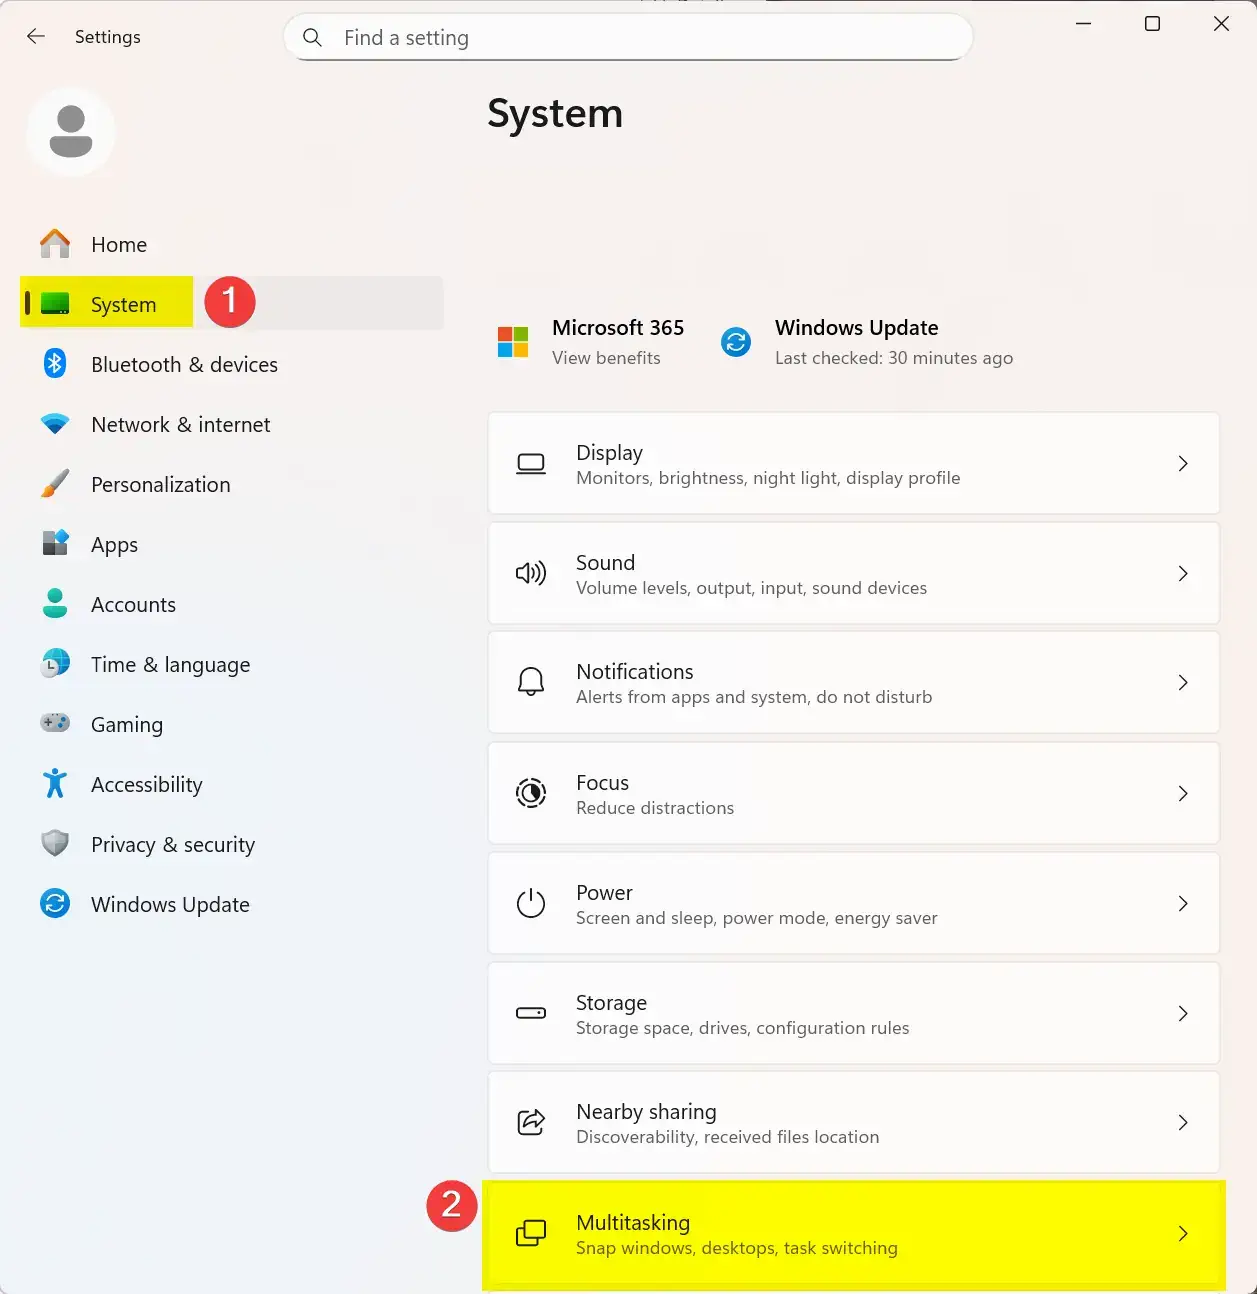
3. Now locate the “Snap windows” option, and click the toggle button to disable it. Of course, if sometime later on you wish to re-enable this feature, just click on the toggle button again to re-enable it.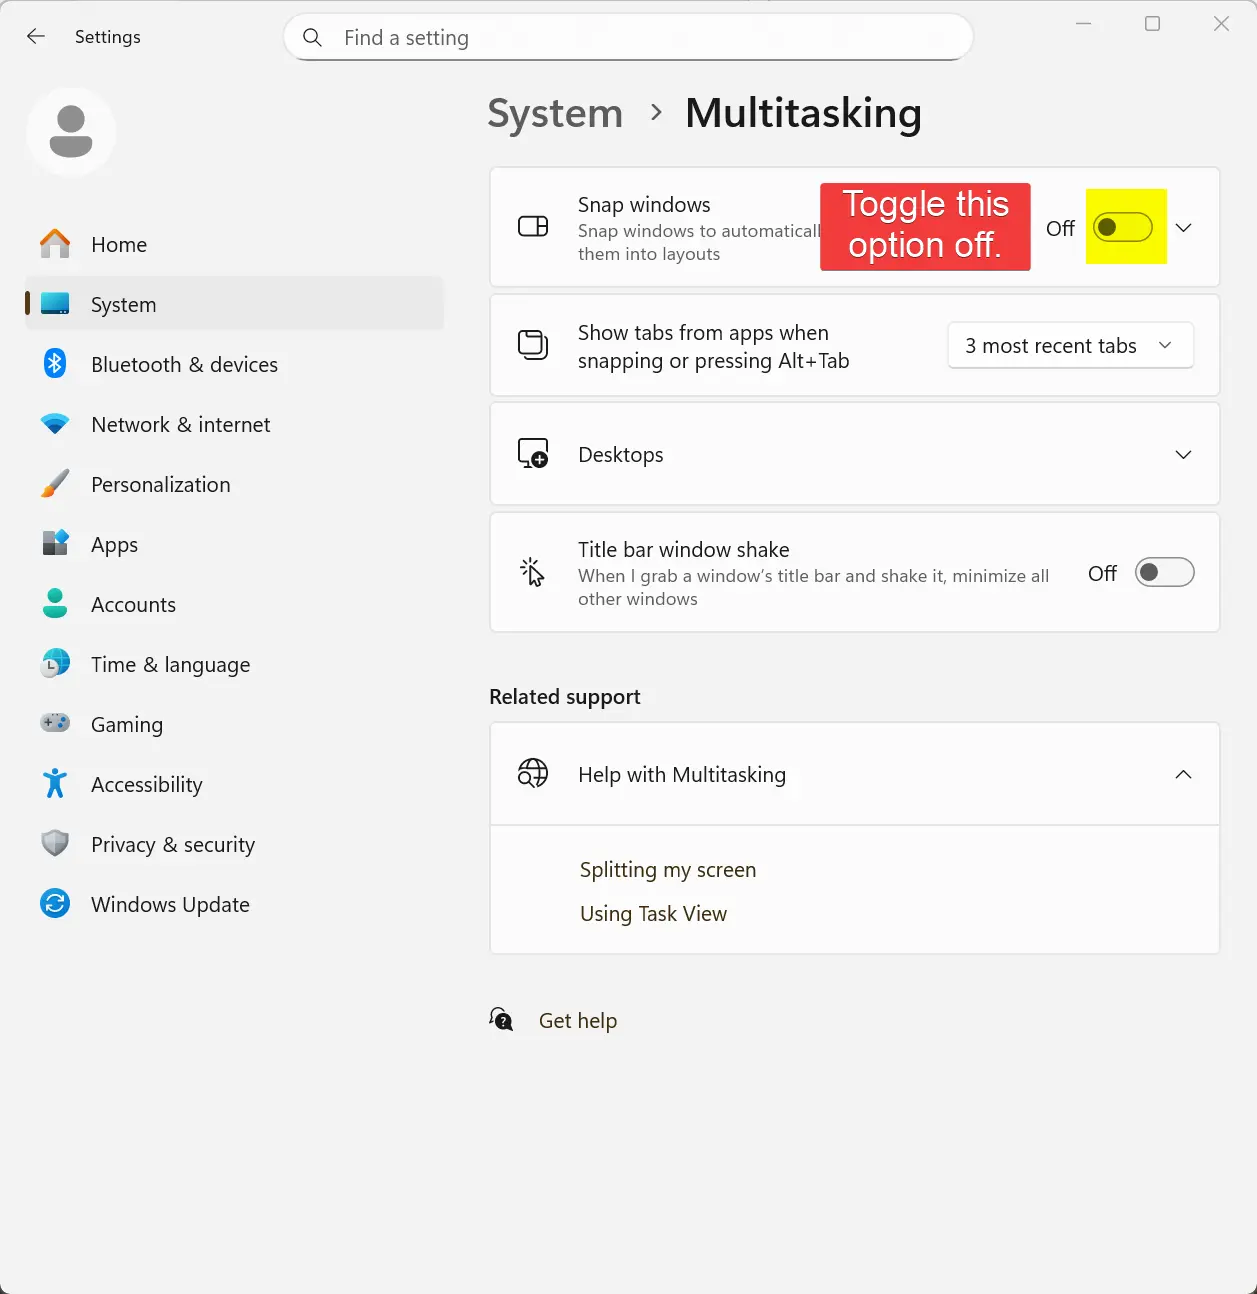
That is the end of this tutorial. I hope someone finds it useful.
Posted in Computers, Operating Systems, Tips & Tutorials
How to Show File Extensions and Hidden Files and Folders on Windows 11
In this blog post, I will explain how to show file extensions, and how to view hidden files and folders on your Windows 11 system.
By default, Windows 11 hides file extensions, and any files and folders marked with the attribute “hidden”. At some point, you may have a need to change a file’s extension manually (e.g., “.txt” to “.ini“). It can also be useful to see any hidden files and folders on your computer.
No reboot is required for these changes to take effect.
- Open the File Explorer.
- If you wish, you can use the [ Windows Key + E ] keyboard combination to open File Explorer.
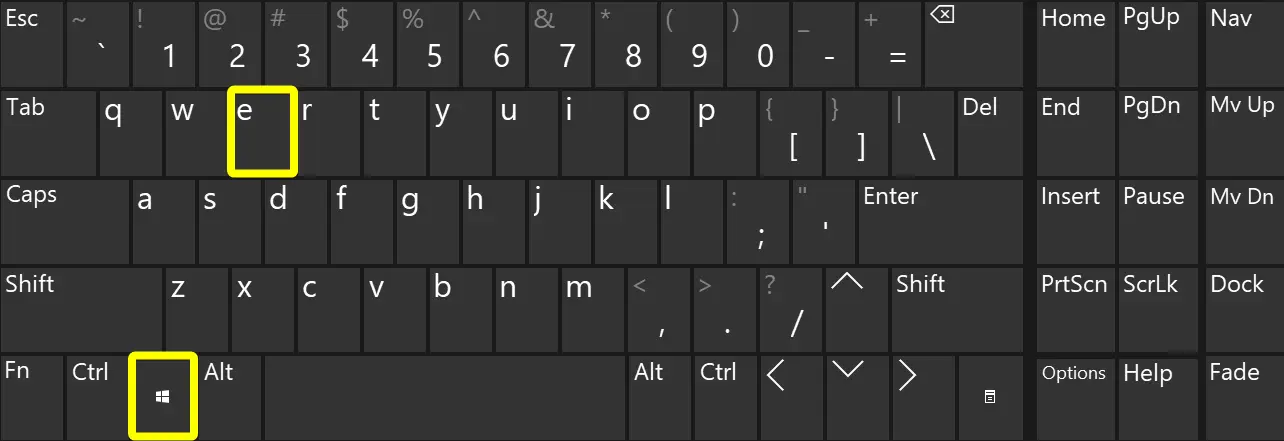
- If you wish, you can use the [ Windows Key + E ] keyboard combination to open File Explorer.
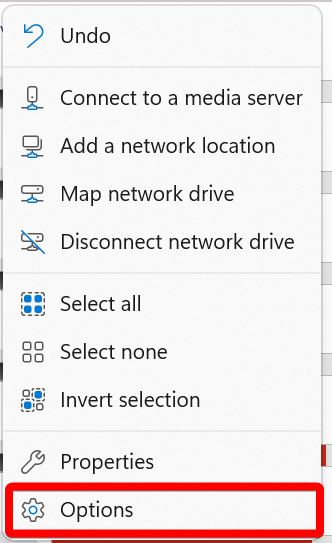
- After the File Explorer opens, click on the ellipsis menu button.

- Now click on the “Options” menu item.
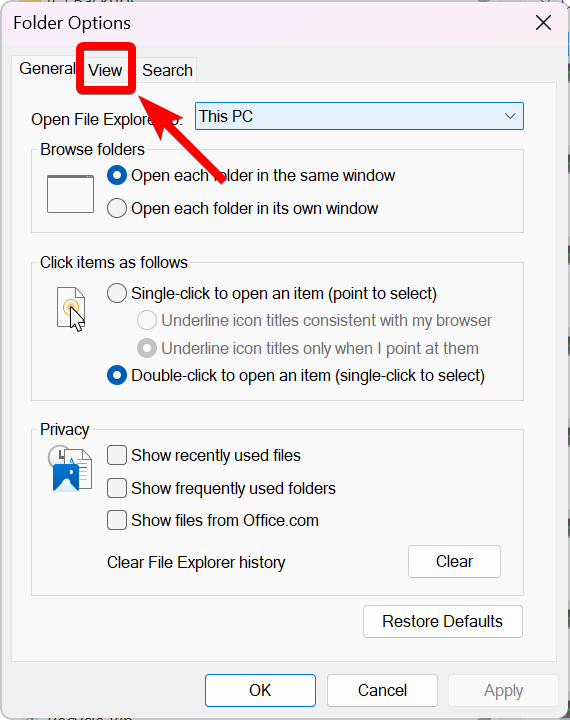
- Click on the “View” tab.
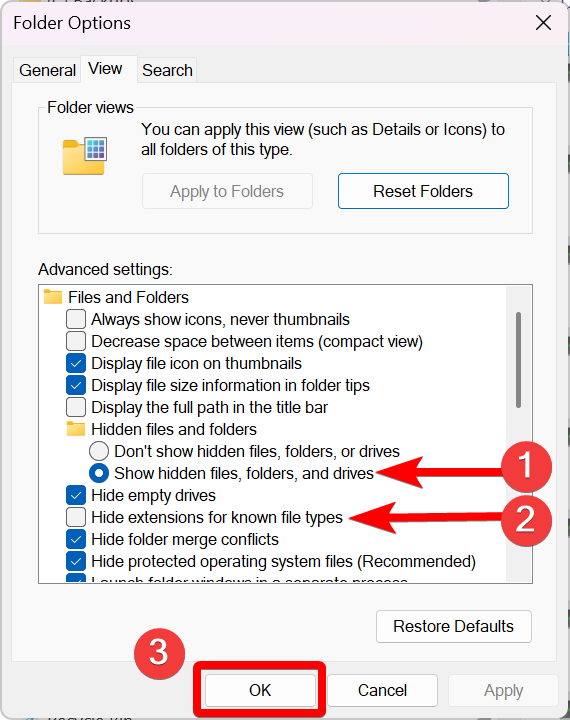
- Now do the following:
- Select the option, “Show hidden files, folders, and drives” (under “Hidden files and folders”).
- Uncheck the option, “Hide extensions for known file types”.
- Click the “OK” button.
That’s it. You now can view file extensions, and view any hidden files and folders on your Windows 11 computer.
I hope you found this tutorial helpful.
Posted in Computers, Internet and Servers, Operating Systems, Tips & Tutorials
Google Messages Crashing/Hanging Fix
In this blog post, I will show how I fixed the Google Messages app from freezing. Please keep in mind, this fix worked for me and a couple of other people. While it may not work for everyone, I am sharing it in the hopes that it might help someone else experiencing the same problem.
Background: For the last 3 months, I have been encountering an issue with Google Messages. Every time I opened the app, it would completely freeze within 10 seconds, forcing me to close it manually. Initially it seemed to go away with a Google Messages update. Unfortunately, it started freezing on me again.
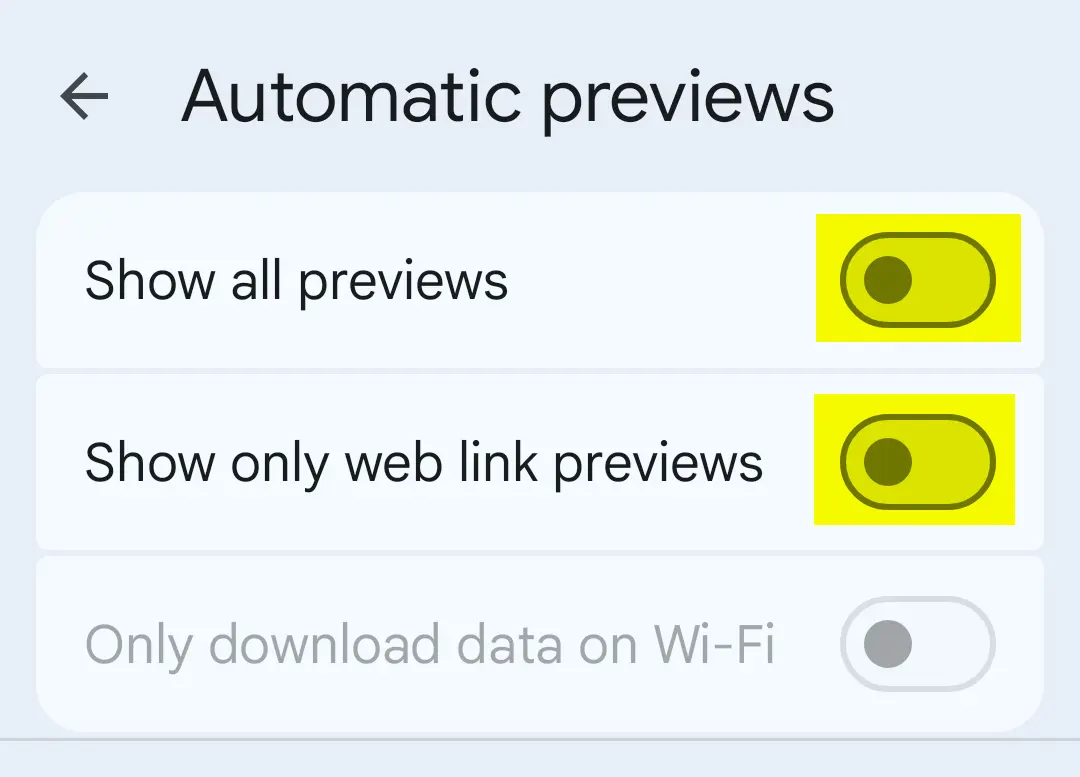
After tinkering with it for a bit, I figured out the “Automatic previews” feature was causing the app to hang. Disabling the “Automatic previews” option resolved the issue.
If you wish to try the fix for yourself, here is what to do.
1. On the top-right of the app, tap on the icon as shown in the image below.

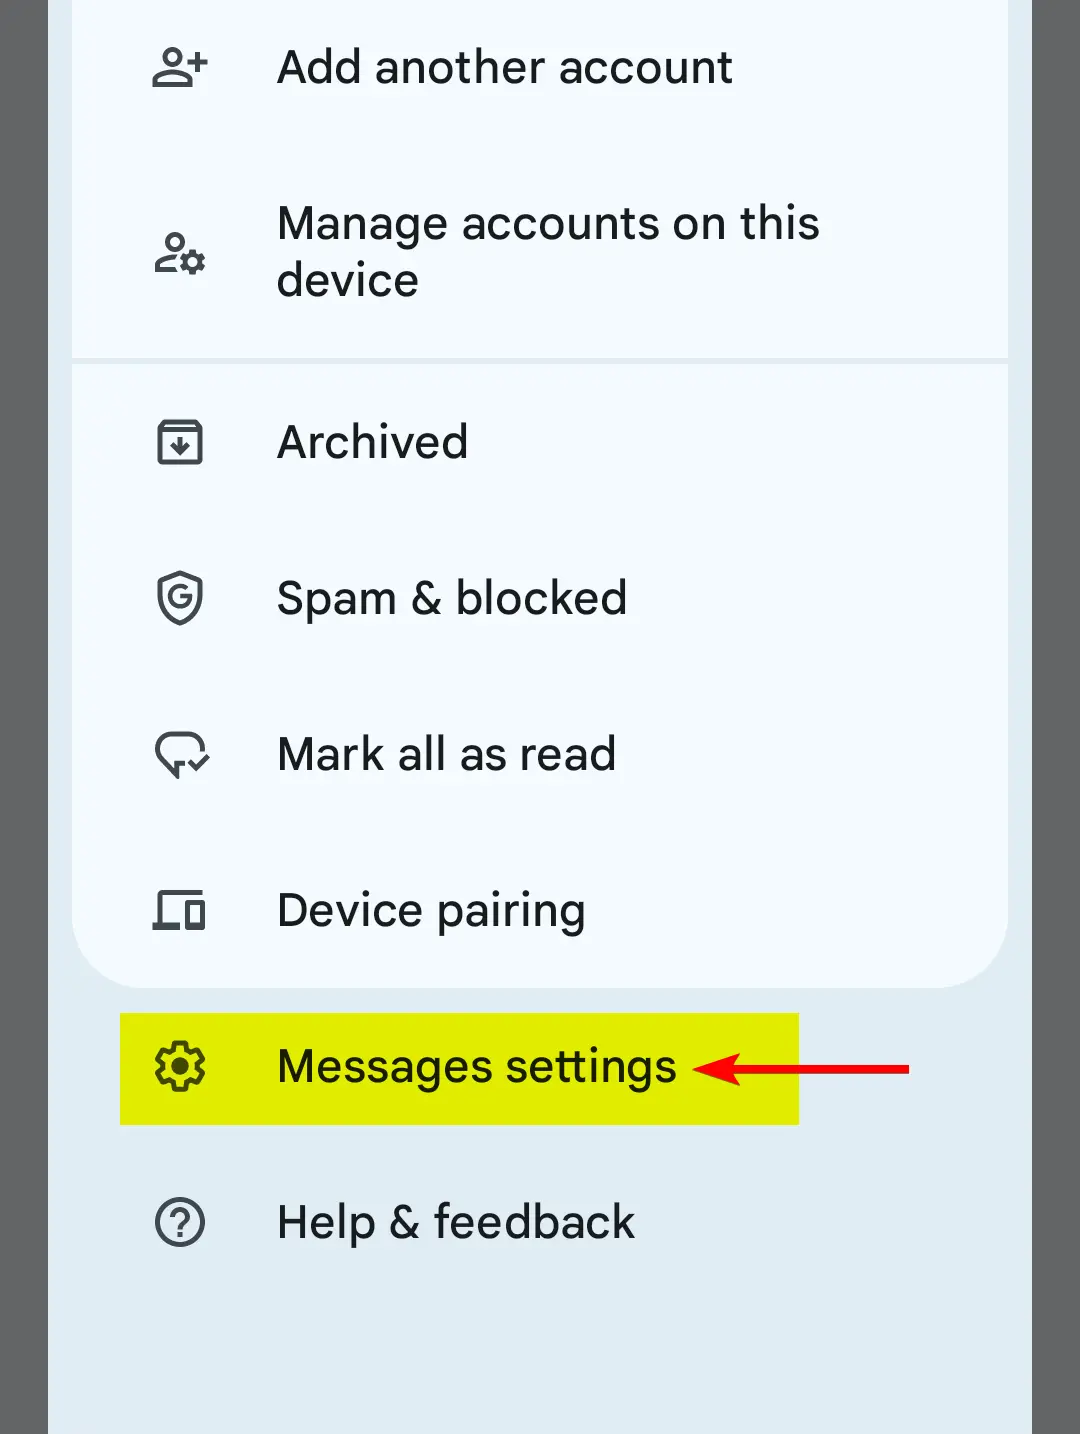
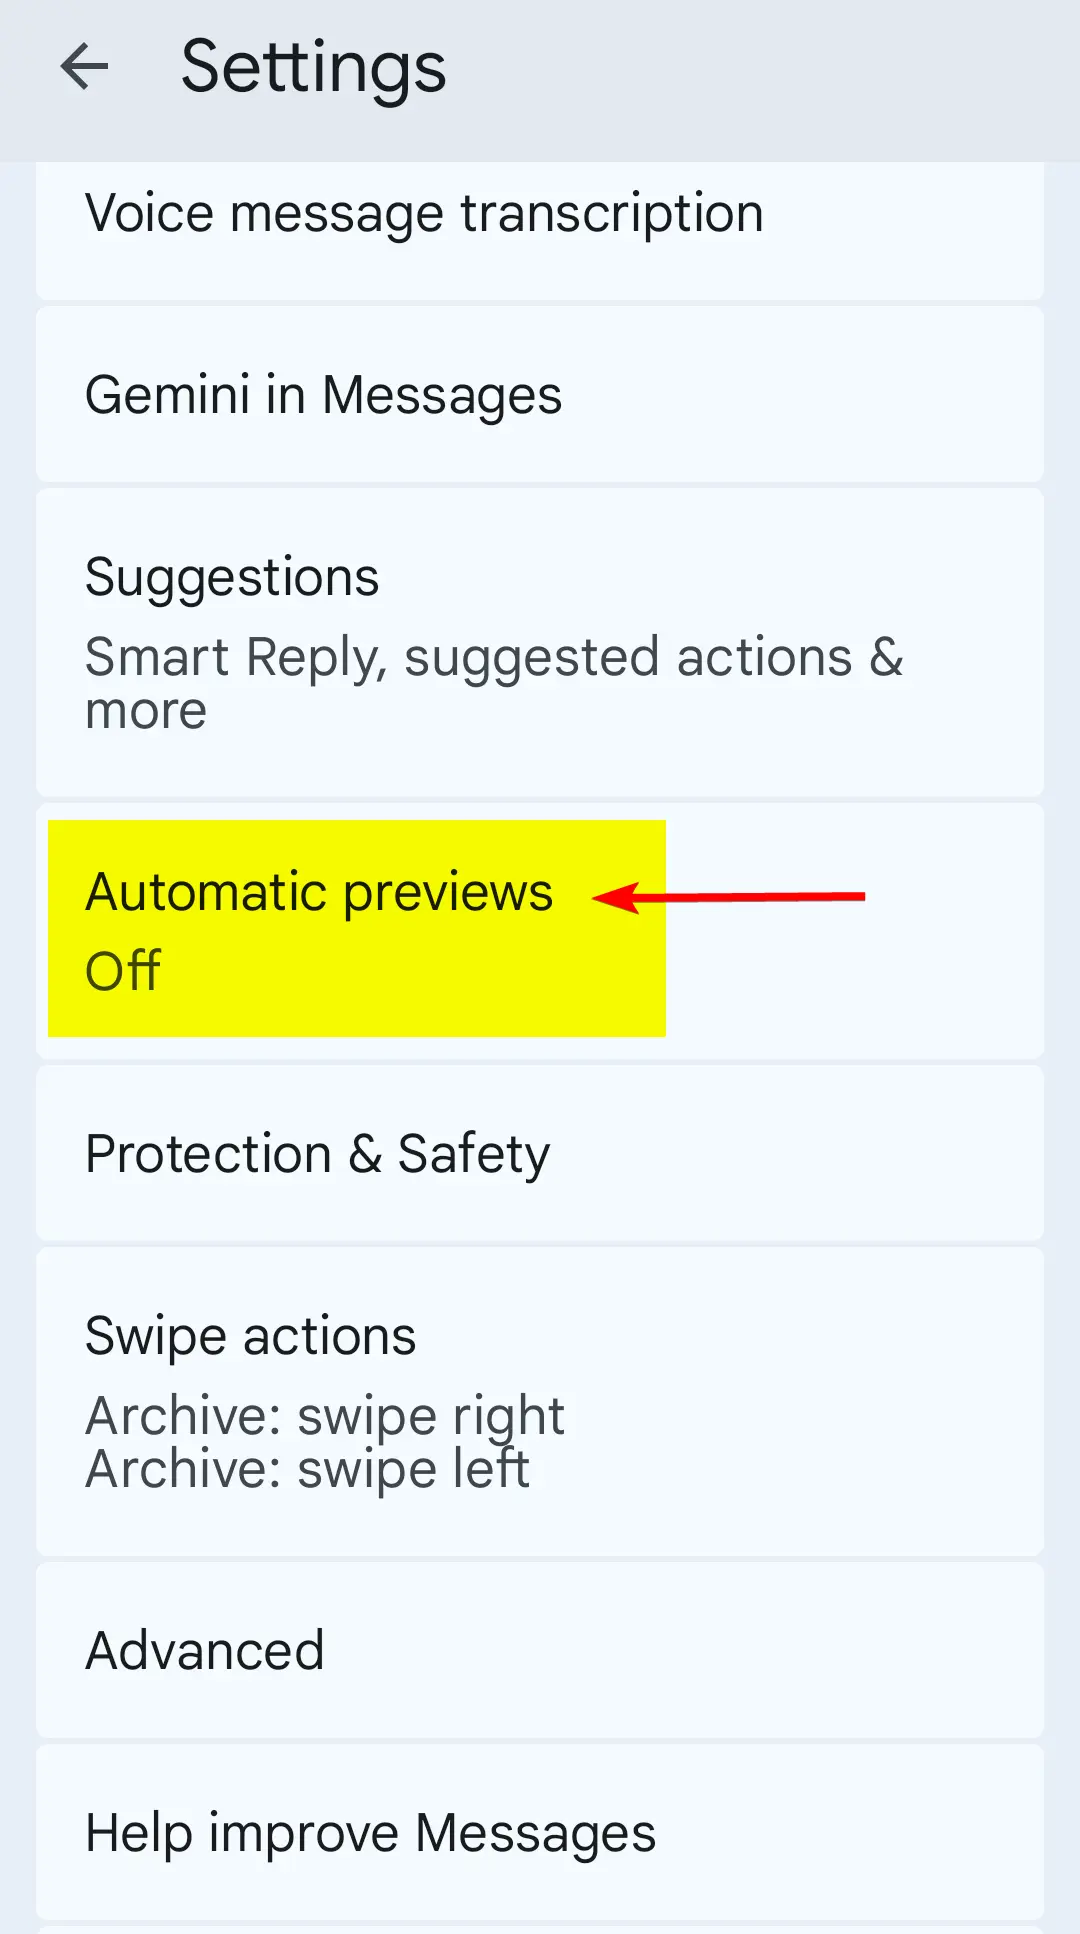
2. Open the settings menu.
3. Find “Automatic previews”, and tap on that.
4. Make sure the highlighted options are disabled.
And that is it. This worked for me, and hopefully this will work for you too.
Posted in Android, Mobile Phone, Software, Tips & Tutorials
How to Reboot Windows using PowerShell for Windows
In this blog post, I will show how to reboot Windows using PowerShell.
As you know, rebooting Windows is typically done through the graphical interface, but understanding how to reboot Windows using PowerShell can be beneficial for various reasons (e.g., automation tasks, install scripts, etc.). Also, you may find yourself in a Windows environment that requires the use of the command line (e.g., Server Core).
You don’t need administrator privileges to reboot a desktop version of Windows, but you do need them to reboot a Windows Server.
To reboot Windows from the command line, run the following command in a PowerShell terminal.
Restart-Computer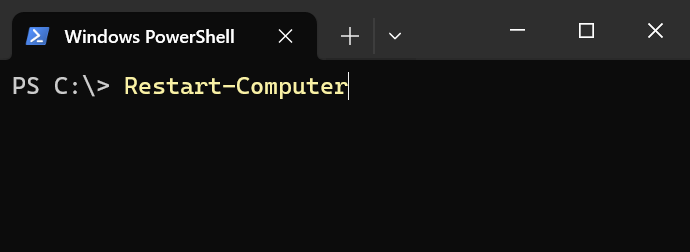
If you need to forcefully reboot Windows (without waiting for all the programs to close first), use the “-Force” switch.
Restart-Computer -Force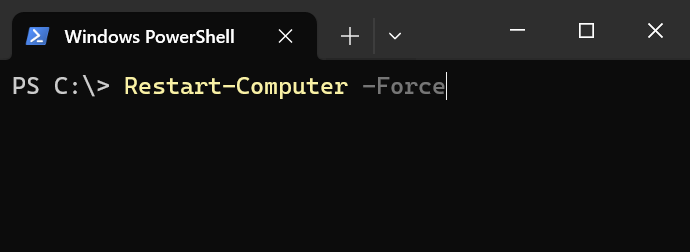
Posted in Code Snippet, Command Prompt, Computers, Internet and Servers, Operating Systems, PowerShell, Tips & Tutorials