RPCS3 Settings Guide for Uncharted: Drake’s Fortune
This tutorial will show you which custom settings to use with Uncharted: Drake’s Fortune on the RPCS3 (PlayStation 3) emulator. These settings are what I personally use. As always, your results may vary.
Known Problems that I Experienced
- FPS drop when shaders get compiled (nothing you can really do about that)
- FPS drop when a lot of activity is on the screen (e.g., several enemies on the screen at once)
- Texture pop-in
- Texture flicker
Prerequisites
- Latest copy of RPCS3 (Download Page)
- A copy of Uncharted: Drake’s Fortune for use with the emulator.
- A fairly beefy computer (for best performance; can work on slower computers).
- A PlayStation controller (preferred) or an Xbox controller (connected via wired or wireless).
- First off, add the game to RPCS3 to get started.

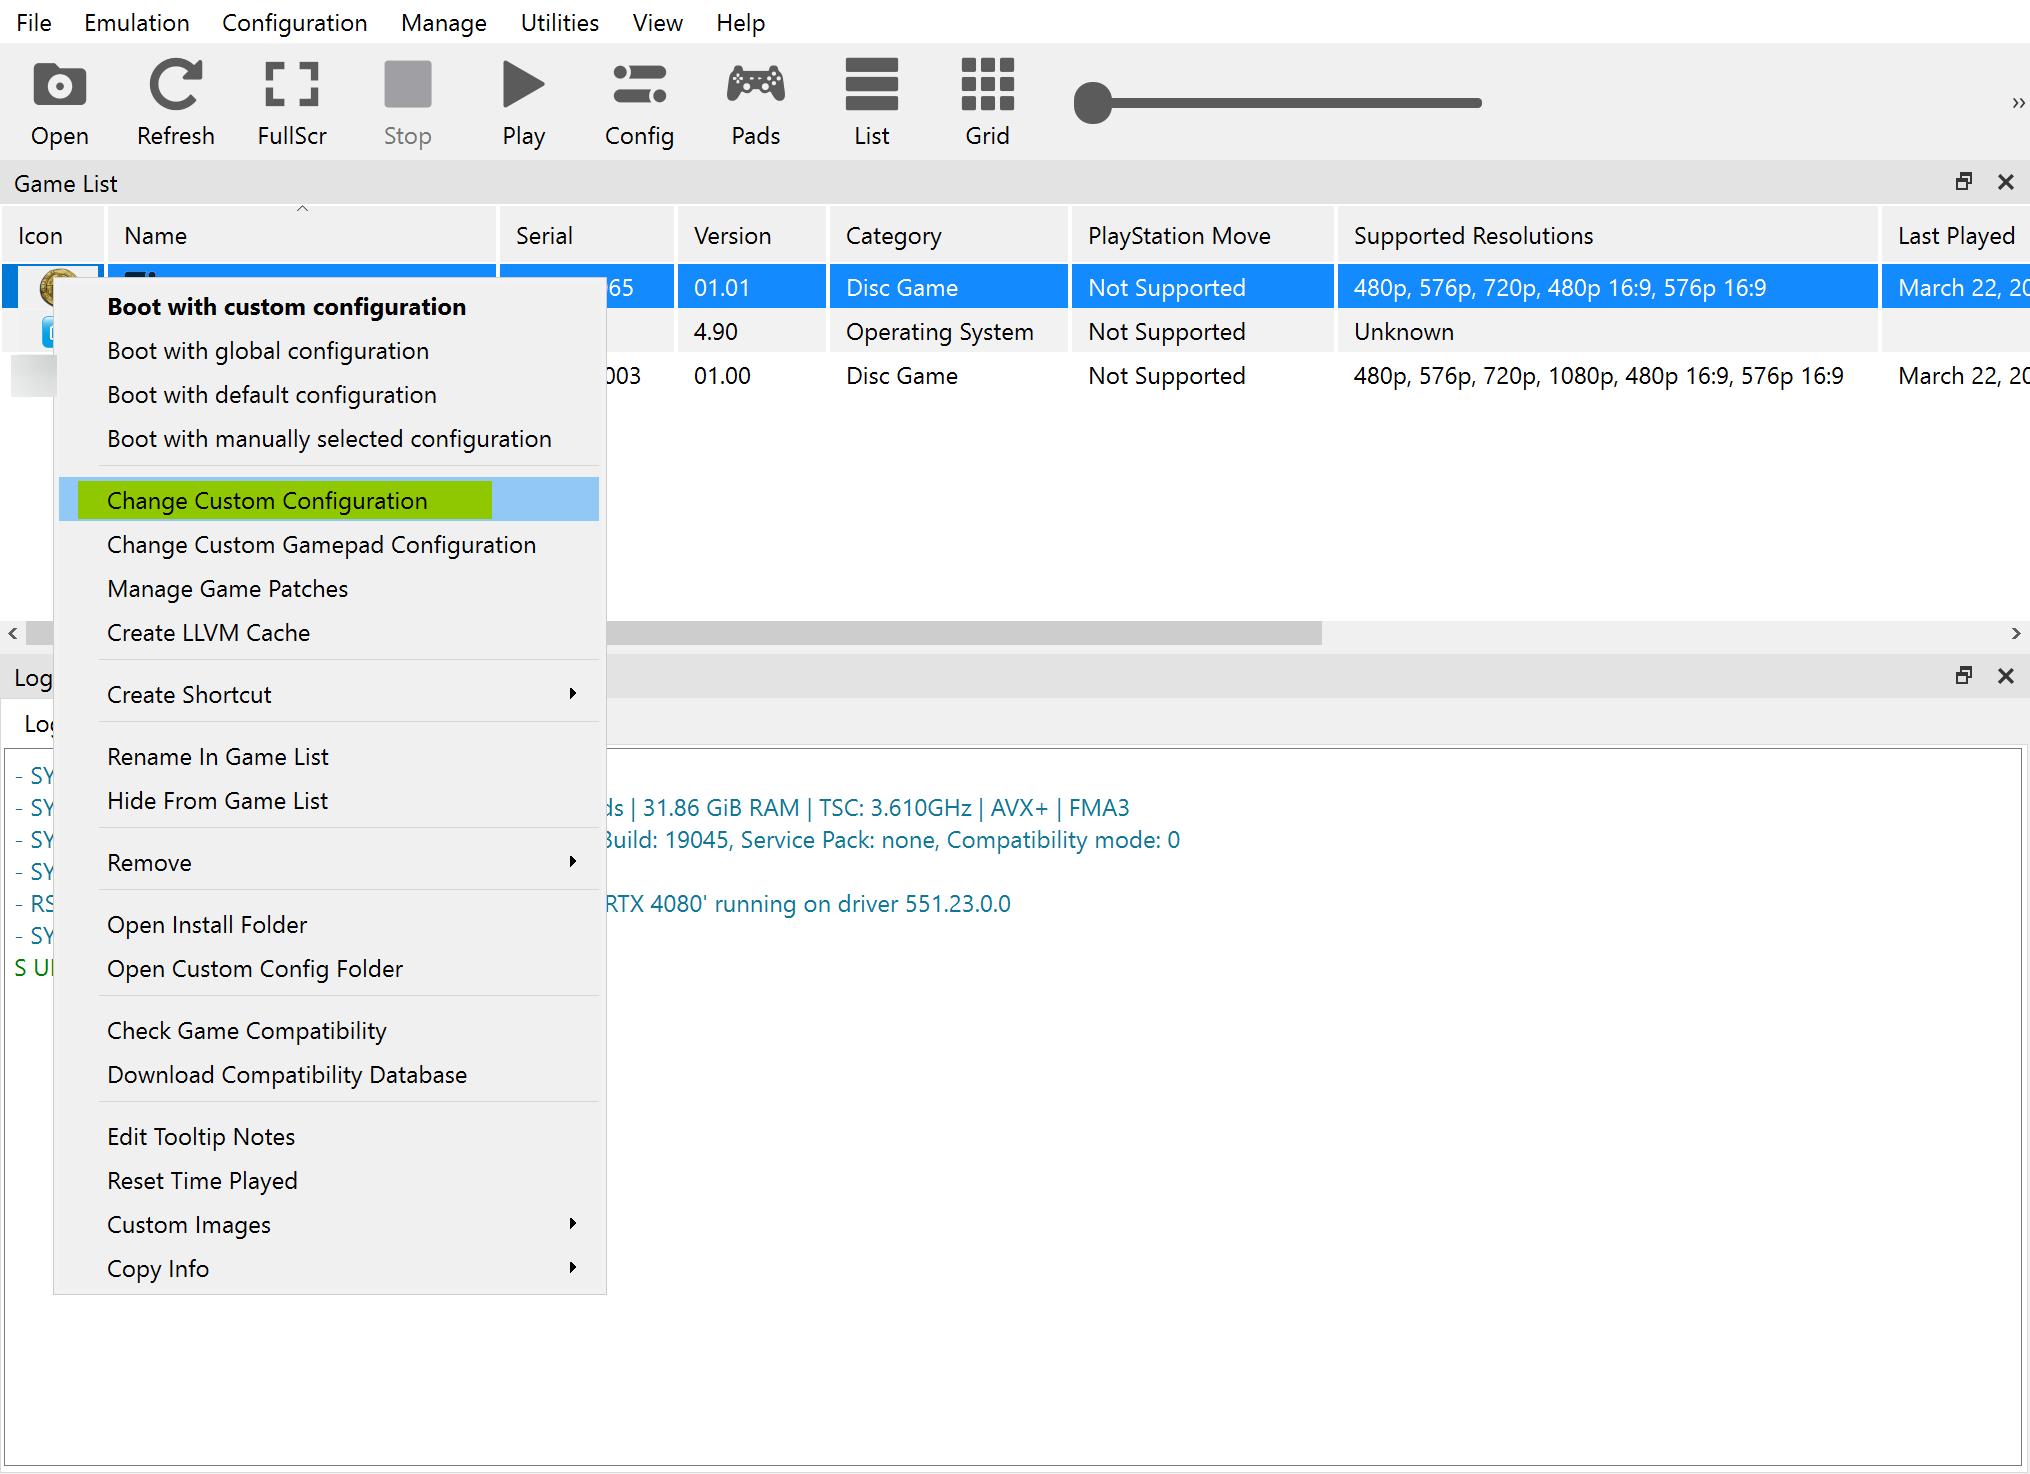
- Now right-click on the game and select “Change Custom Configuration”.
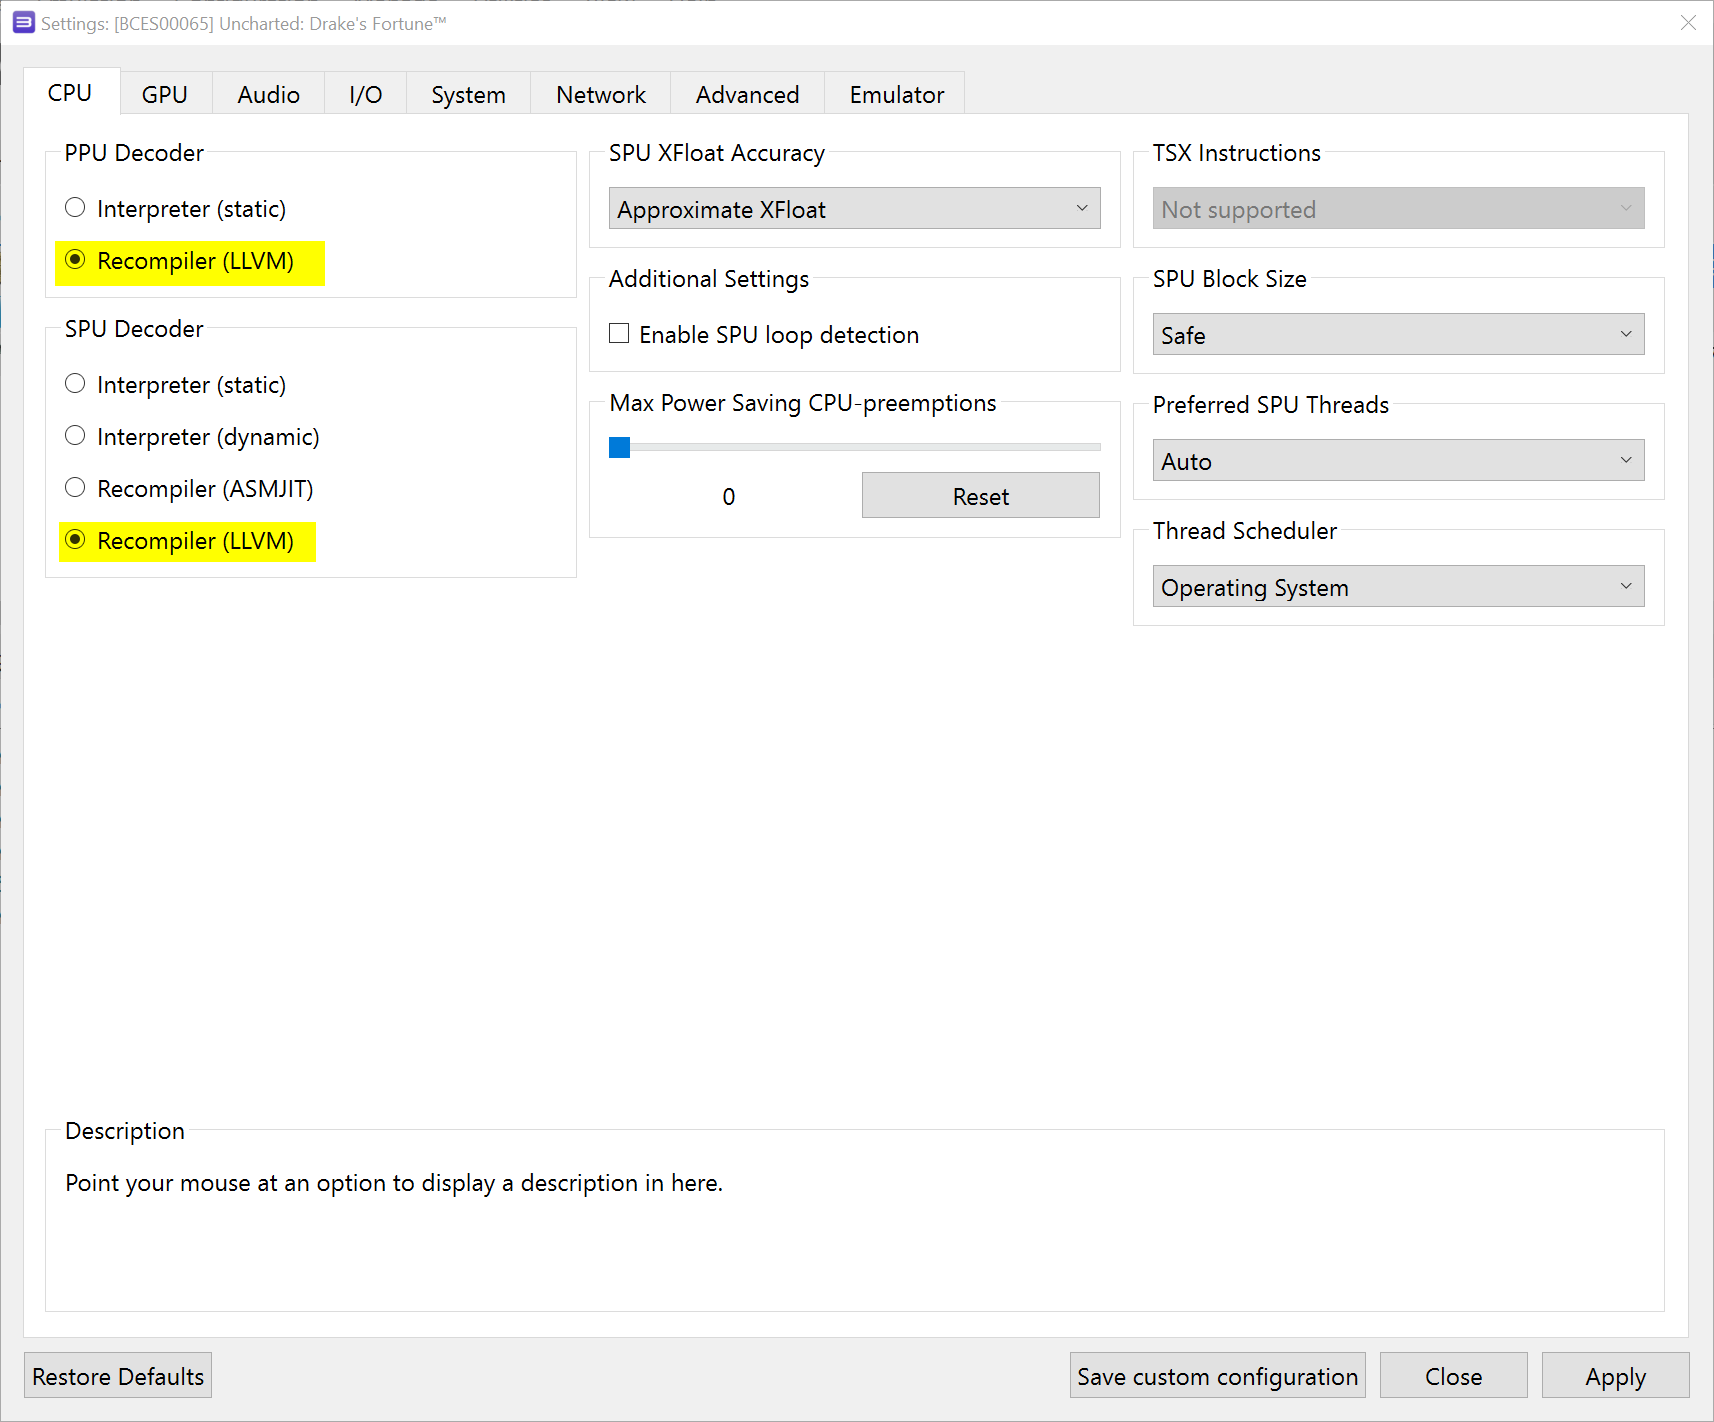
- Now we are at the configuration for the emulator’s CPU. Make sure your settings match what is shown in the screenshot.
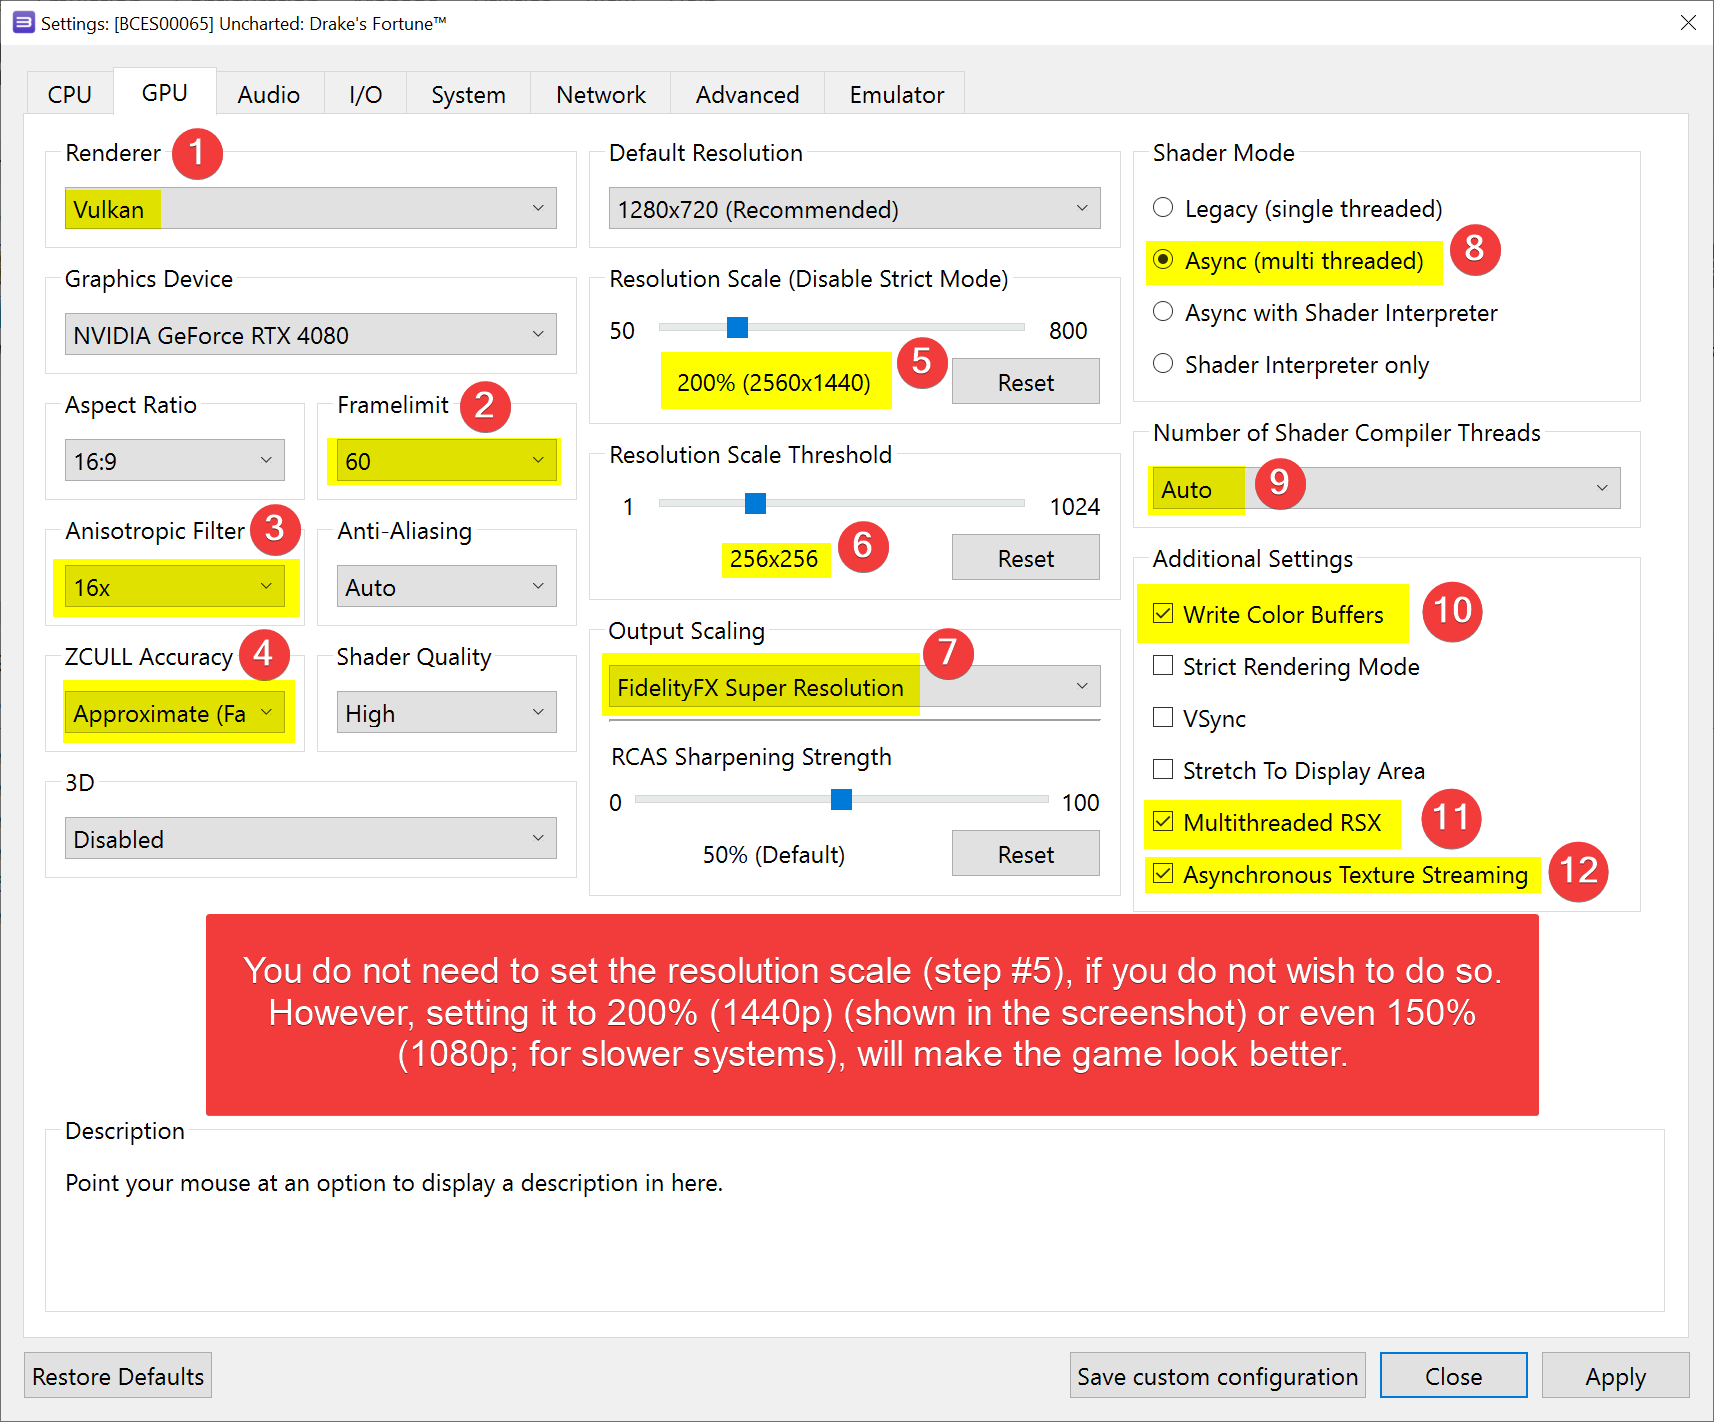
- Now click on the “GPU” tab and set your settings to what is shown in the following screenshot.
- Click on the “Advanced” tab and set your settings to what is shown in the following screenshot.

- Now click on the “Save custom configuration” button at the bottom of the configuration box.

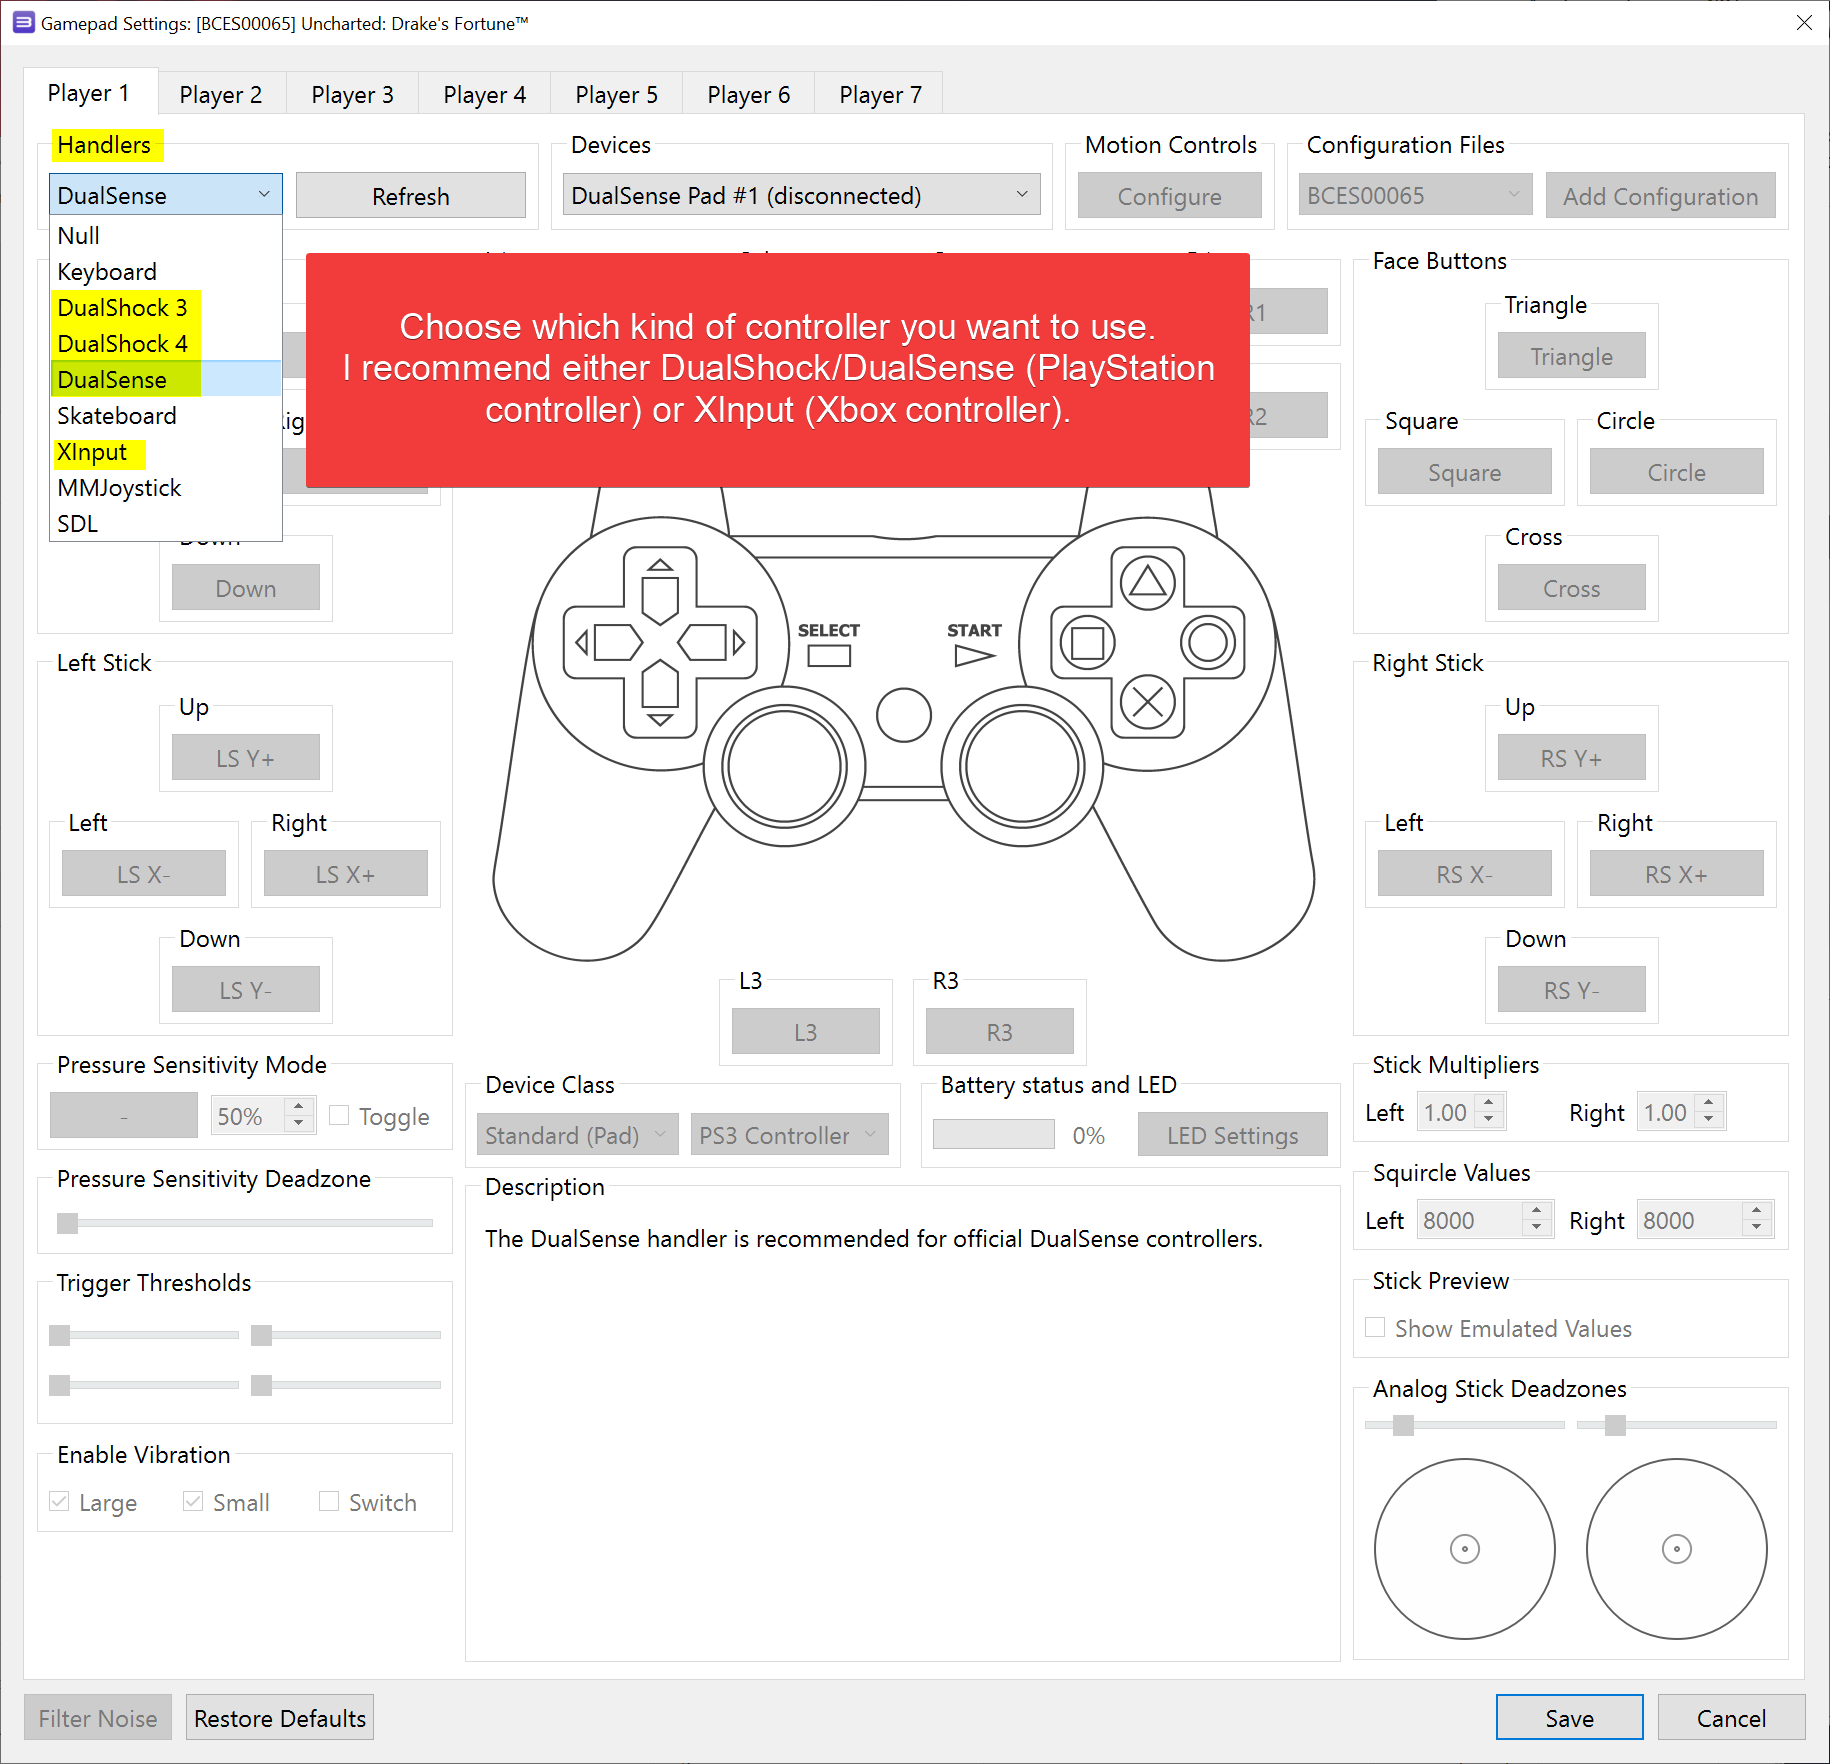
- Right-click on the game again and this time select “Change Custom Gamepad Configuration”.

- Now set your controller input type.
- Click the “Save” button.
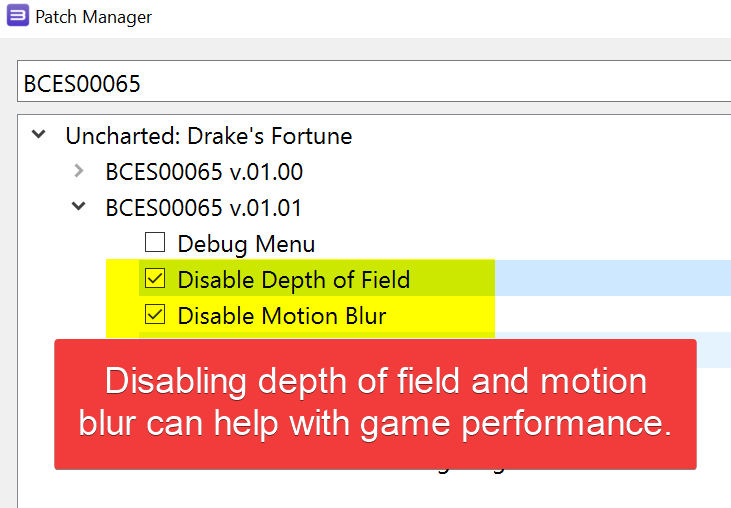
- Again, right-click on the game and select “Manage Game Patches”.
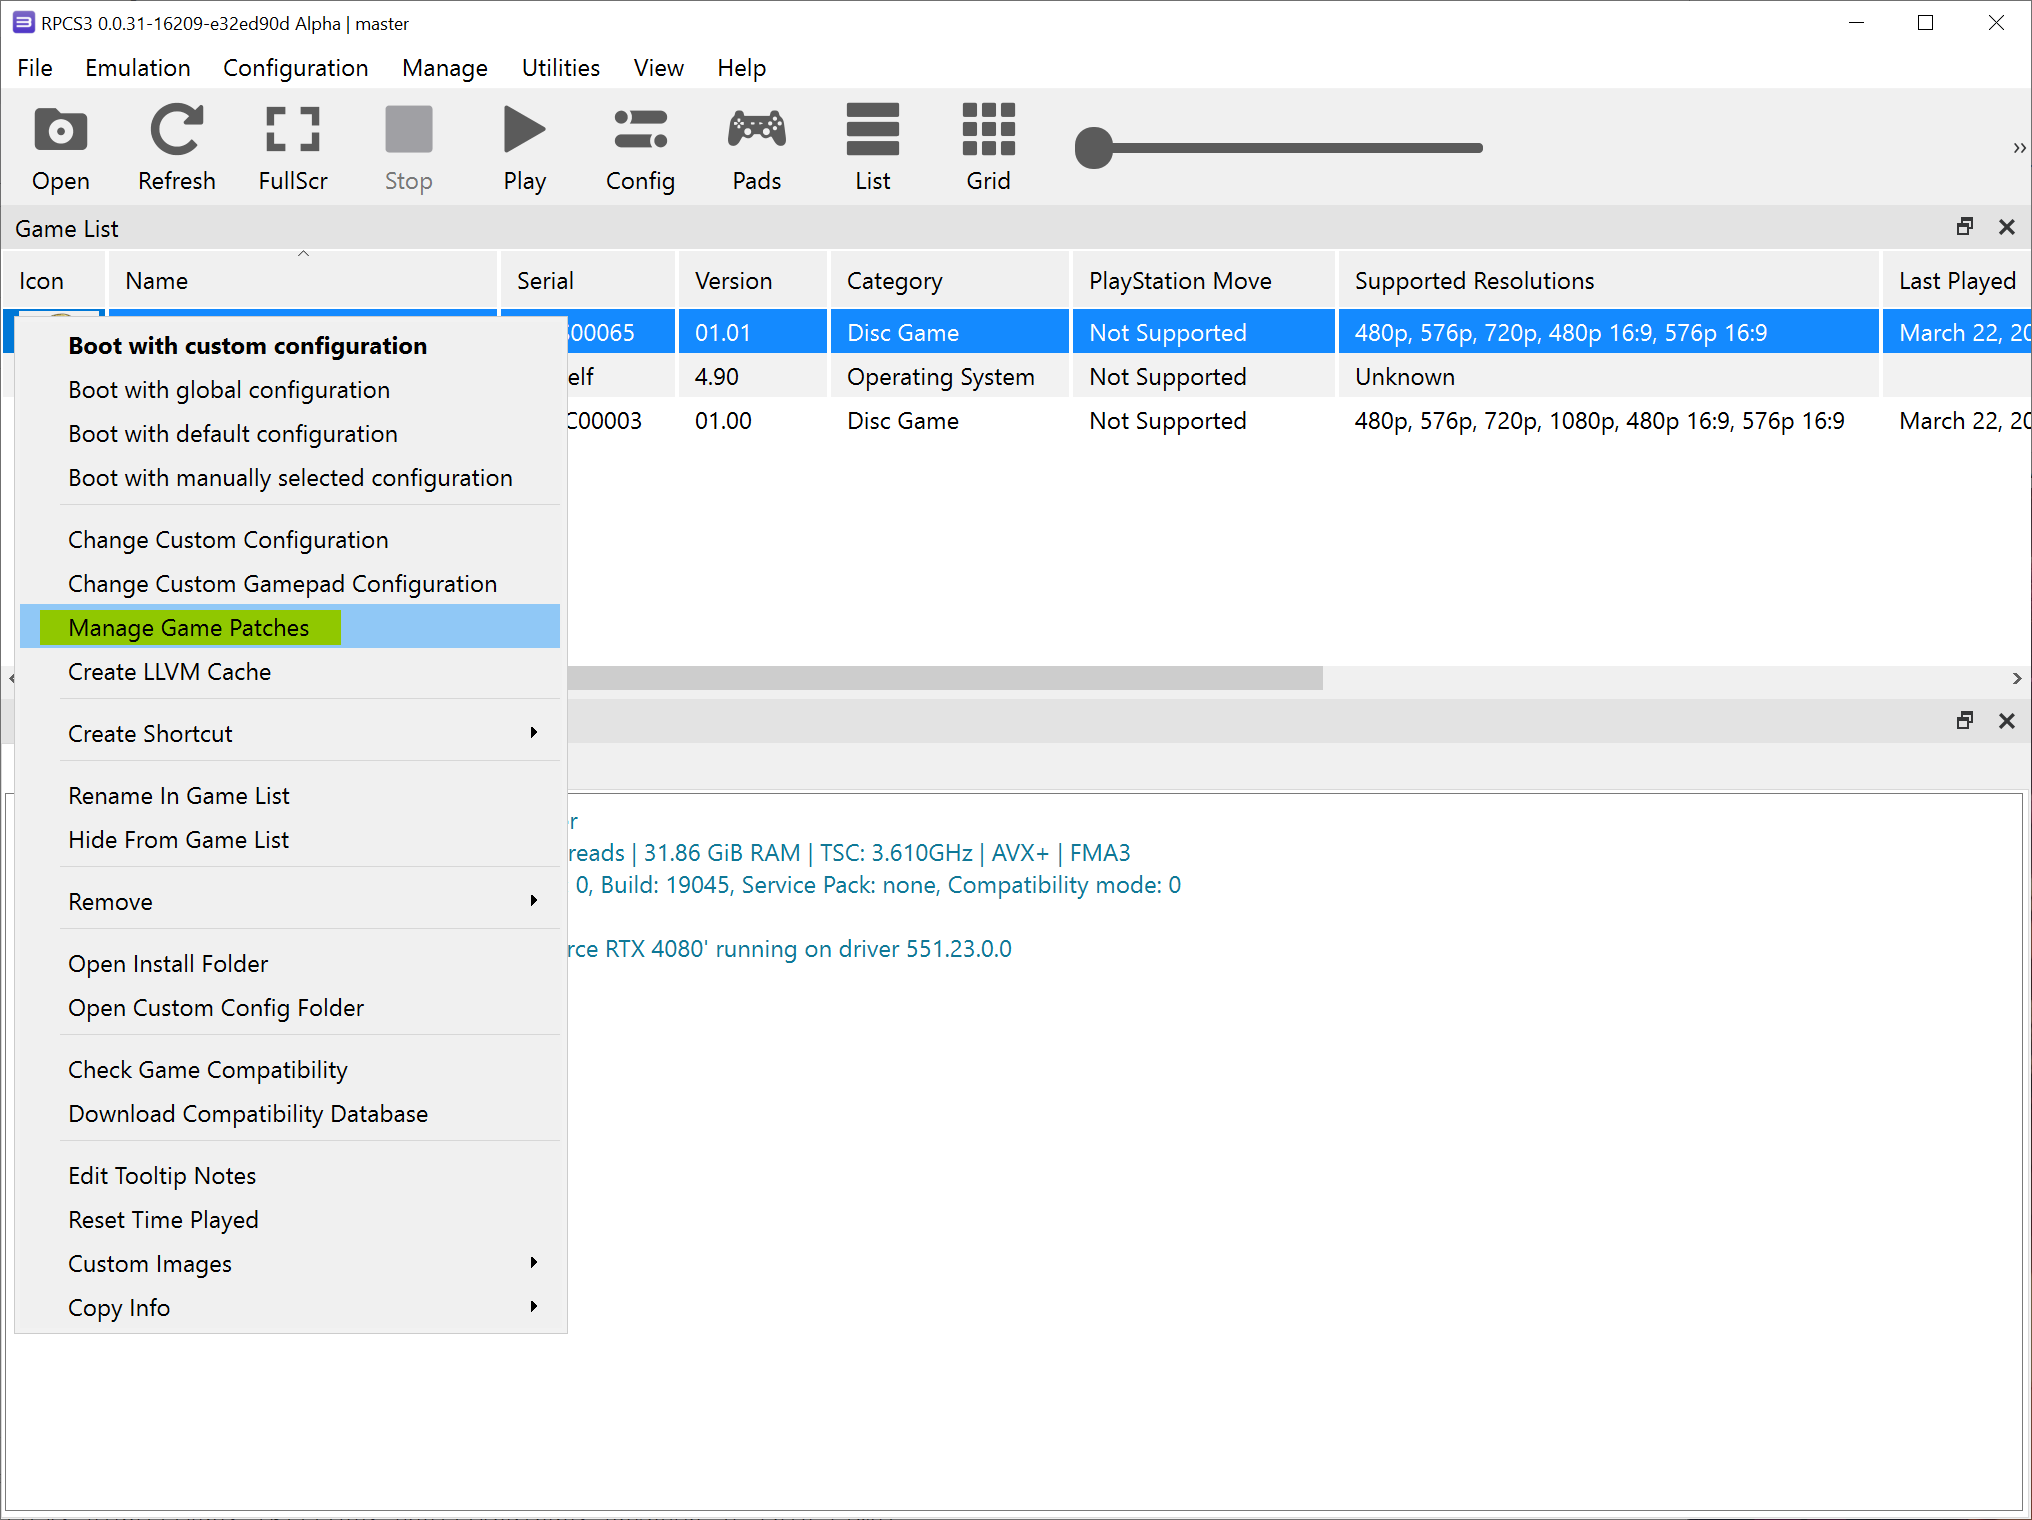
- Select the game patches as shown in the screenshot. Your version of the game may show different patches in the list. However, the two patches you want to select should still be available.
That’s it! You will want to run the game to see if everything is in working order.
Posted in Computers, Software, Tips & Tutorials, Video Games
How to Set Up NVIDIA G-Sync for Gaming
Below I will give you my personal NVIDIA control panel settings I use for G-Sync that gives me smooth game play (results may vary).
Prerequisites
- NVIDIA video card (obviously)
- latest NVIDIA drivers
- Windows 10 or above
- these settings should work in older versions of Windows, but I have not tested that assumption
- G-Sync or FreeSync compatible monitor
- FreeSync is AMD’s version of G-Sync
- NVIDIA (thankfully) allows FreeSync monitors to work with their proprietary G-Sync technology without you having to fork out a lot of money for a G-Sync “certified” monitor.
- You must enable your monitor’s G-Sync or FreeSync technology (it is usually disabled by default)
- On my FreeSync monitor (Samsung LS28AG700N), the setting is called “Adaptive-Sync”. I do not know if other FreeSync monitors have it labeled “Adaptive-Sync” too, but the naming should be similar.
- If you own a real G-Sync monitor, look for a similar option to enable.
- Set your monitor to use 120Hz or higher refresh rate
- While you can use G-Sync with a 60Hz refresh rate, it really does you no good (I tried it; waste of my time; G-Sync works better with a 120Hz or higher refresh rate).
Ok. First you need to open the NVIDIA Control Panel. Usually you can right-click on your Windows desktop and select “NVIDIA Control Panel”.

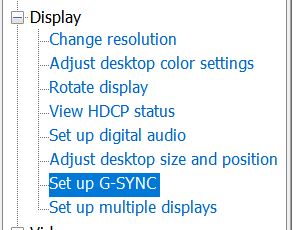
Once the NVIDIA Control Panel opens, click on the option called “Set up G-SYNC”.
Please note that this option will not be visible if your monitor’s FreeSync (“Adaptive-Sync”) or G-Sync technology is not turned on.
Now set your settings just like I show in the picture below.
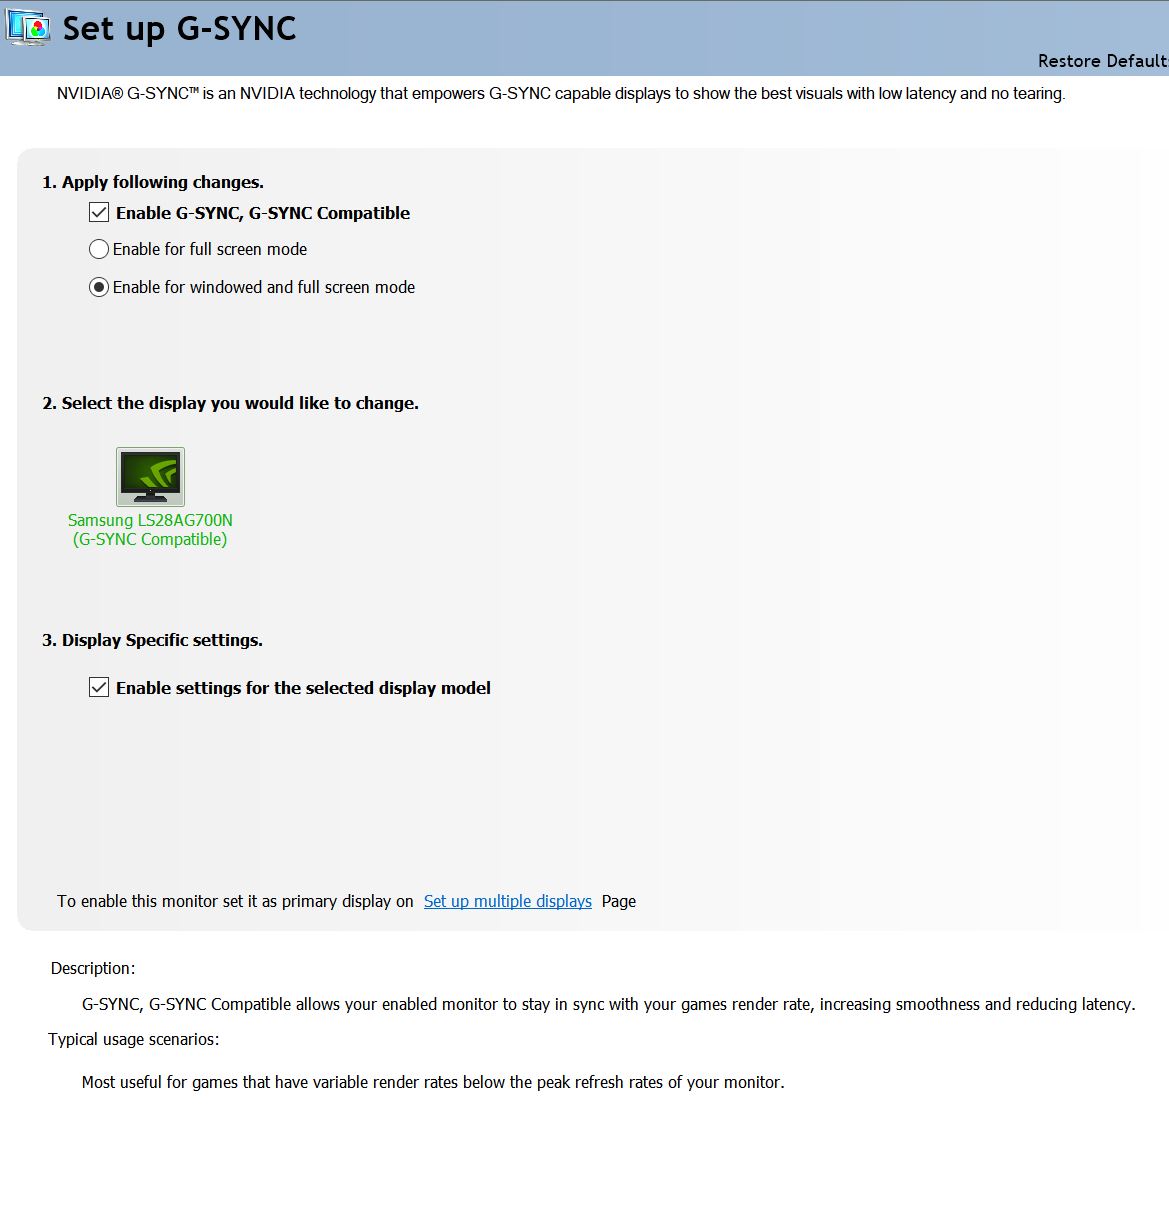
Once you set the settings, you need to click on the “Apply” button to save your settings.
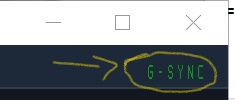
Before we go on, you may want to turn on the G-Sync indicator as shown below.
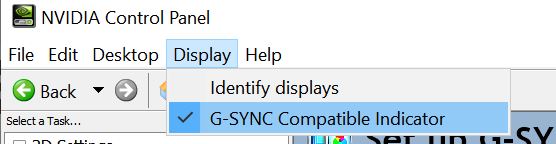
This will tell the NVIDIA driver to display a green “G-Sync” text on the top-right of a window or full-screen application that is currently making use of G-Sync. This is a very helpful indicator letting you know if your G-Sync is working properly in a particular program.
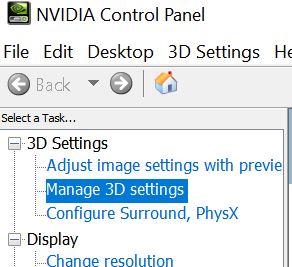
Now we need to go to setup a few more things. On the menu to the left, click on “Manage 3D settings”.
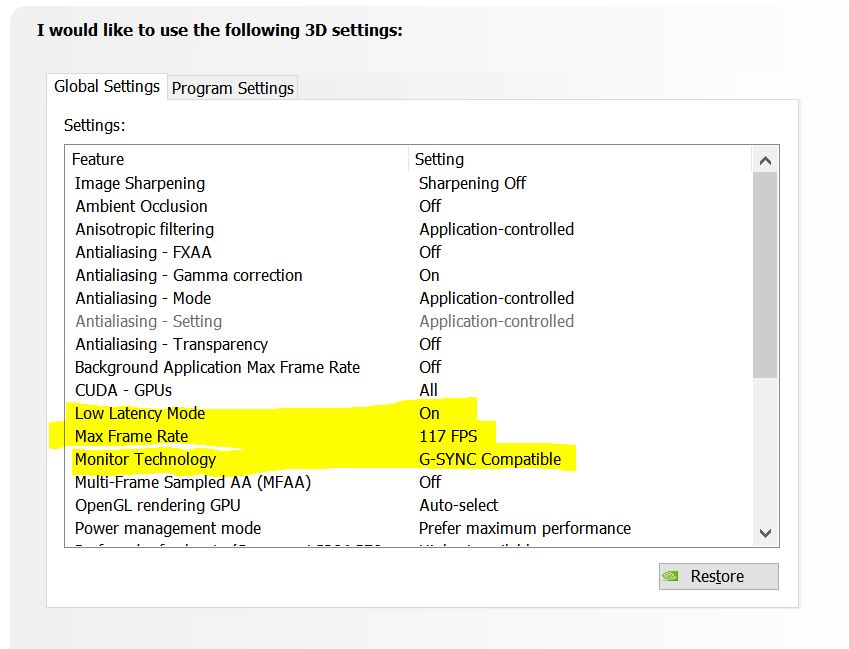
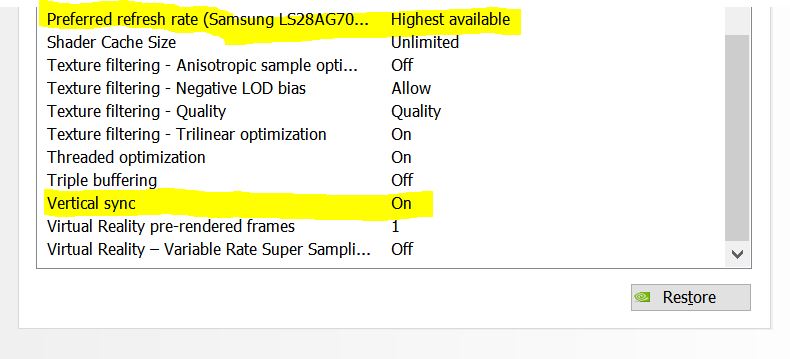
Below I have highlighted the settings I use specifically for G-Sync. Set your settings like I have shown below.
Important Note: The “Max Frame Rate” works well when it is -3 your monitor fresh rate. For example, if your monitor is running at 120Hz (like mine), set the “Max Frame Rate” to 117 instead of 120. This works well for me. Likewise, if you have a 144Hz monitor, set the “Max Frame Rate” to 141 instead of 144.
Important Note #2: If you have frequent stuttering when playing games, try setting the “Low Latency Mode” to “Off” and see if that solves the problem. “Low Latency Mode” does not always play nice with everyone’s computer systems and games.
Scroll down to view the rest of the options.
As mentioned before, please remember to click the “Apply” button to save your settings.
G-Sync should now work. Open up a video game and – if you enabled the G-Sync indicator I mentioned earlier – you should see a green “G-Sync” text on the upper-right of your screen.
I hope this small tutorial has been helpful to someone.
Posted in Computers, Software, Tips & Tutorials, Video Games