How to Show File Extensions and Hidden Files and Folders on Windows 11
In this blog post, I will explain how to show file extensions, and how to view hidden files and folders on your Windows 11 system.
By default, Windows 11 hides file extensions, and any files and folders marked with the attribute “hidden”. At some point, you may have a need to change a file’s extension manually (e.g., “.txt” to “.ini“). It can also be useful to see any hidden files and folders on your computer.
ℹ️ Notice
No reboot is required for these changes to take effect.
- Open the File Explorer.
- If you wish, you can use the [ Windows Key + E ] keyboard combination to open File Explorer.
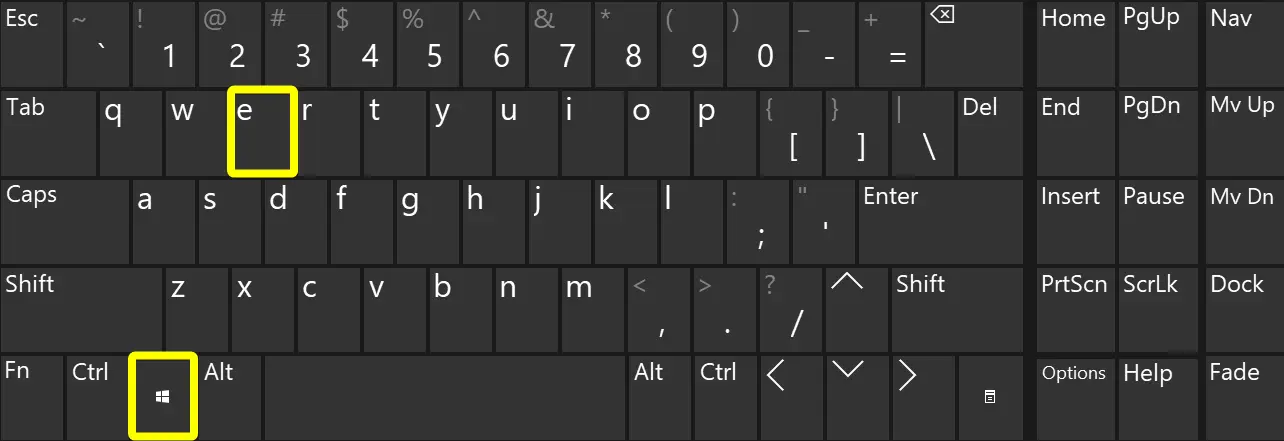
- If you wish, you can use the [ Windows Key + E ] keyboard combination to open File Explorer.
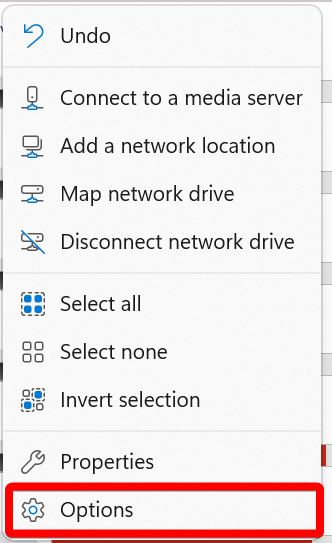
- After the File Explorer opens, click on the ellipsis menu button.

- Now click on the “Options” menu item.
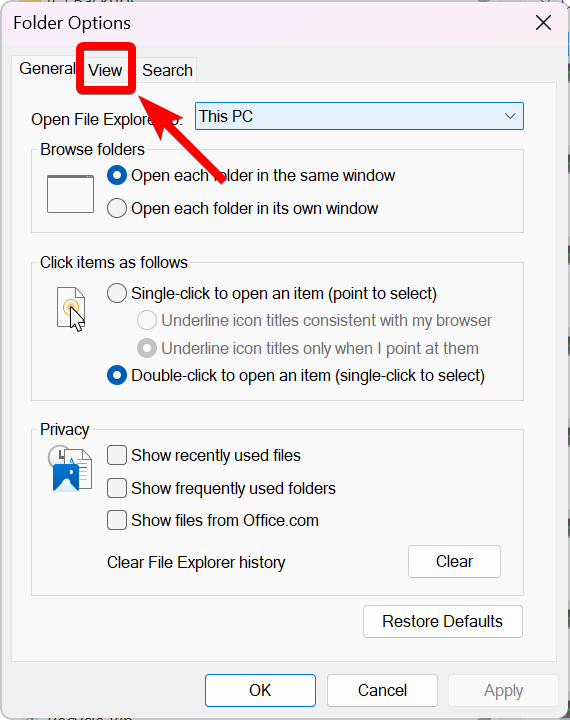
- Click on the “View” tab.
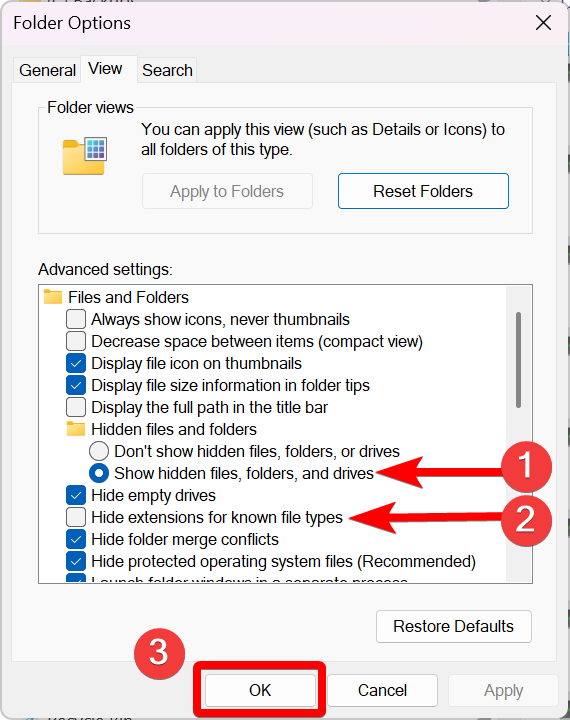
- Now do the following:
- Select the option, “Show hidden files, folders, and drives” (under “Hidden files and folders”).
- Uncheck the option, “Hide extensions for known file types”.
- Click the “OK” button.
That’s it. You now can view file extensions, and view any hidden files and folders on your Windows 11 computer.
I hope you found this tutorial helpful.
Posted in Computers, Internet and Servers, Operating Systems, Tips & Tutorials