How to Disable Windows Memory Compression for Windows 10/11
In this blog post, I will explain how to disable memory compression on a Windows 10/11 system via PowerShell.
For those who don’t know, Windows compresses infrequently used memory instead of writing them to the page file. This way if your computer needs to use that particular data, it just has to decompress it in memory rather than access the much slower page file on your hard drive or SSD.
Since memory compression uses up CPU cycles, this can potentially slow down a computer.
Interesting Fact: Microsoft disables memory compression, by default, on Windows Servers. That right there tells you memory compression can potentially slow down a computer system.
Disabling memory compression on computers with limited RAM ( < 16GB ) can decrease performance rather than improve it. It is always recommended to run benchmarks before and after disabling memory compression to verify that you indeed received a performance increase from turning off memory compression.
To disable memory compression on Windows 10/11, run the following command in an Administrator PowerShell terminal.
Disable-MMAgent -mc

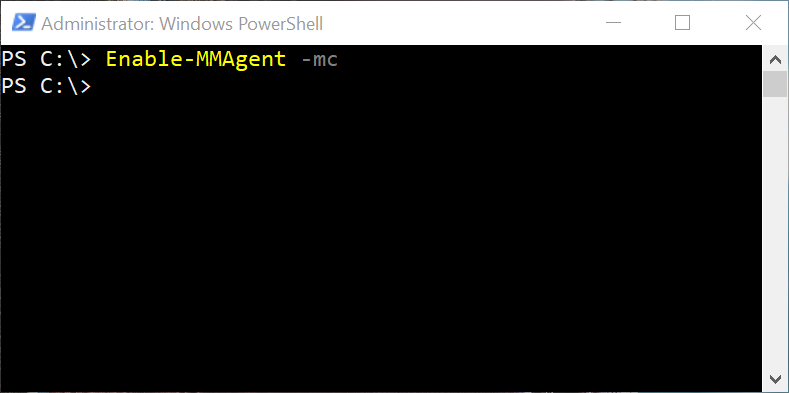
Of course, if you wish to re-enable memory compression, just type the following command.
Enable-MMAgent -mc
It would probably be a good idea to reboot Windows after disabling or enabling memory compression to make sure the change is applied.
Posted in Code Snippet, Command Prompt, Computers, Internet and Servers, Operating Systems, PowerShell, Tips & Tutorials