How to Check GPU Usage and Information in Windows 11
In this short tutorial, I will show you an easy way to view basic GPU statistics in Task Manager using Windows 11.
Step 1: Open Task Manager
Open Task Manager by pressing Ctrl + Shift + Esc on your keyboard, or by right-clicking the Start button  and selecting Task Manager.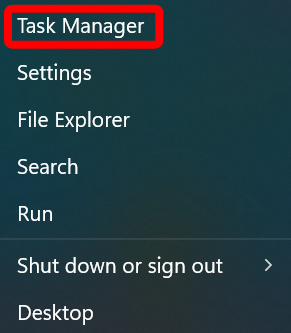
Step 2: Performance Tab
In the left-hand menu (for the Task Manager), click the “Performance” tab.
Step 3: Select your GPU
From the list, click your listed GPU. If you have more than one GPU (e.g., a laptop with dual graphics), you will see multiple GPUs listed.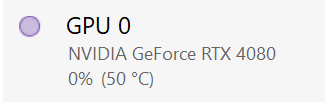
Step 4: Check your Specs
You will now see real-time graphs of your GPU usage. At the bottom, you will notice “Dedicated GPU memory“. This shows you how much video memory you are currently using (left side) and how much total, dedicated video memory you have available (right side).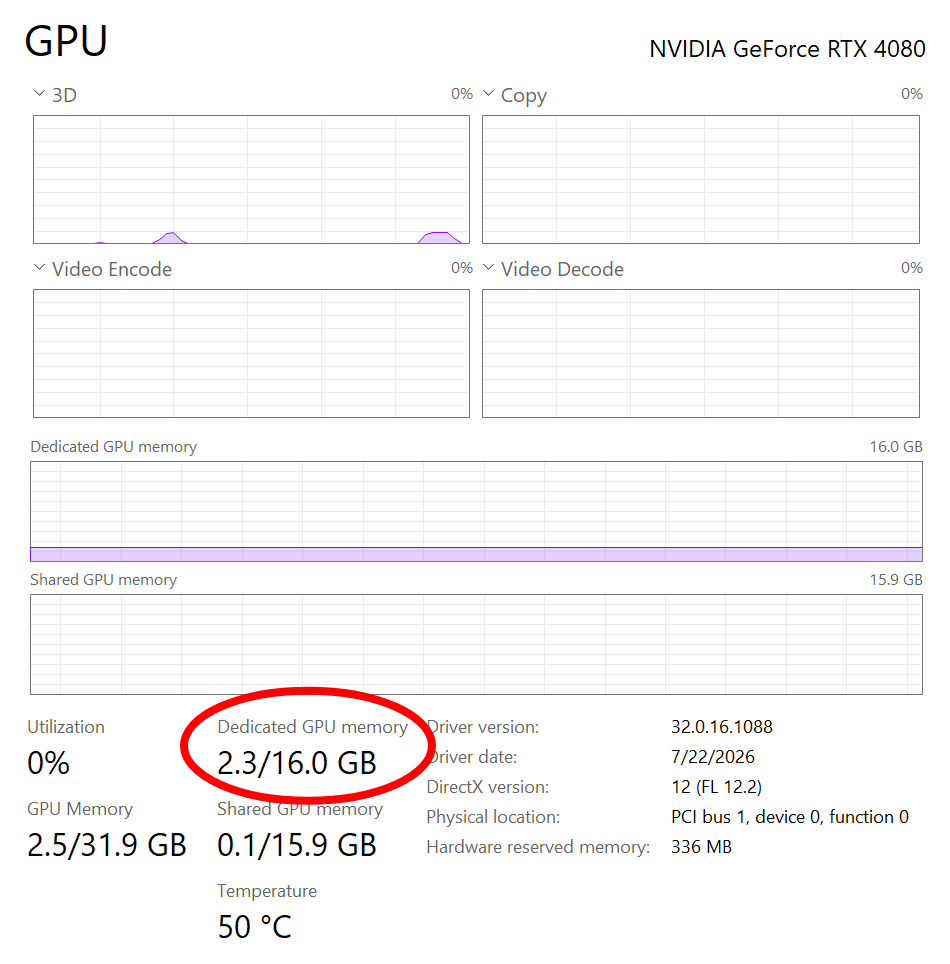
Obviously the Task Manager only shows basic statistics for your GPU. For more detailed statistics, you can use the GPU-Z or HWiNFO software.
That is the end of this tutorial. I hope this has been helpful to someone.
Posted in Computers, Operating Systems, Software, Tips & Tutorials