How to Reboot Windows using PowerShell for Windows
In this blog post, I will show how to reboot Windows using PowerShell.
As you know, rebooting Windows is typically done through the graphical interface, but understanding how to reboot Windows using PowerShell can be beneficial for various reasons (e.g., automation tasks, install scripts, etc.). Also, you may find yourself in a Windows environment that requires the use of the command line (e.g., Server Core).
You don’t need administrator privileges to reboot a desktop version of Windows, but you do need them to reboot a Windows Server.
To reboot Windows from the command line, run the following command in a PowerShell terminal.
Restart-Computer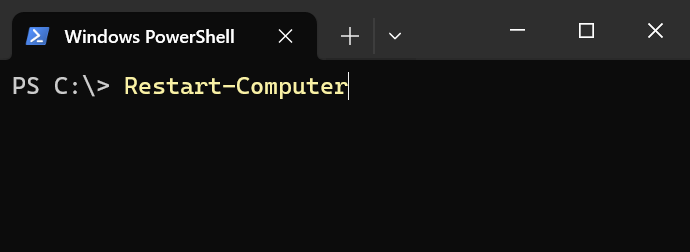
If you need to forcefully reboot Windows (without waiting for all the programs to close first), use the “-Force” switch.
Restart-Computer -Force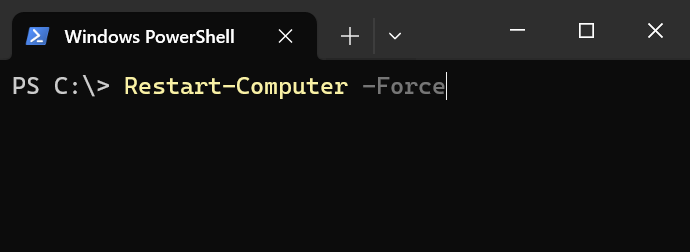
Posted in Code Snippet, Command Prompt, Computers, Internet and Servers, Operating Systems, PowerShell, Tips & Tutorials
How to Disable Windows Memory Compression for Windows 10/11
In this blog post, I will explain how to disable memory compression on a Windows 10/11 system via PowerShell.
For those who don’t know, Windows compresses infrequently used memory instead of writing them to the page file. This way if your computer needs to use that particular data, it just has to decompress it in memory rather than access the much slower page file on your hard drive or SSD.
Since memory compression uses up CPU cycles, this can potentially slow down a computer.
Interesting Fact: Microsoft disables memory compression, by default, on Windows Servers. That right there tells you memory compression can potentially slow down a computer system.
Disabling memory compression on computers with limited RAM ( < 16GB ) can decrease performance rather than improve it. It is always recommended to run benchmarks before and after disabling memory compression to verify that you indeed received a performance increase from turning off memory compression.
To disable memory compression on Windows 10/11, run the following command in an Administrator PowerShell terminal.
Disable-MMAgent -mc

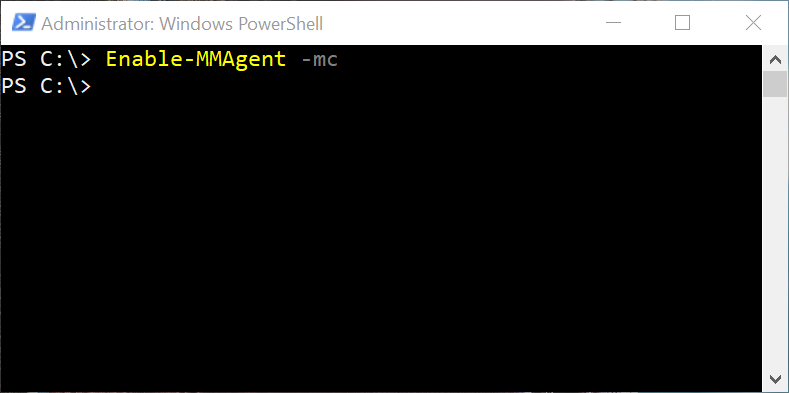
Of course, if you wish to re-enable memory compression, just type the following command.
Enable-MMAgent -mc
It would probably be a good idea to reboot Windows after disabling or enabling memory compression to make sure the change is applied.
Posted in Code Snippet, Command Prompt, Computers, Internet and Servers, Operating Systems, PowerShell, Tips & Tutorials
How to Repair Corrupted Windows System Files using SFC and DISM
If you have used Windows for a long enough time, you may encounter an issue with corrupted system files.
This can be due to:
- An improper system shutdown (e.g., power loss).
- A failing hard drive or SSD.
- Faulty RAM
- A failed Windows update.
- A third-party program that modifies system files (e.g., anti-virus).
- A user accidentally deleting a system file (rare, but can happen).
Corrupted system files can cause Windows to become unstable, leading to blue screens, application crashes, slow performance, and possible data loss.
In this blog post, I will show you how to initiate a Windows system repair using SFC and DISM.
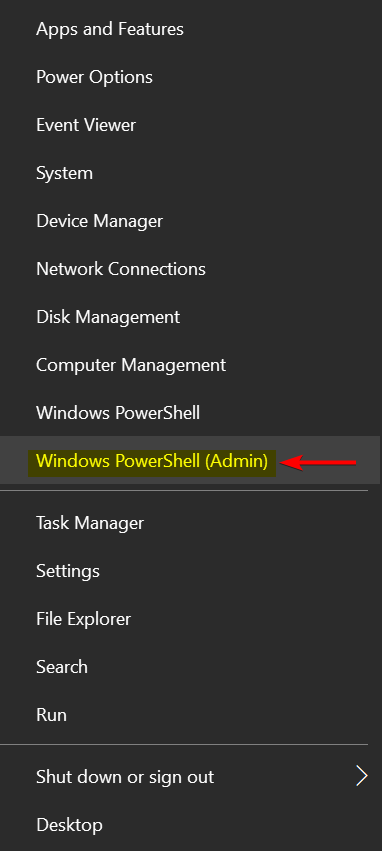
First let’s open PowerShell as Administrator (your computer may show “Command Prompt (Admin)” instead).
Now let’s type in: sfc /scannow
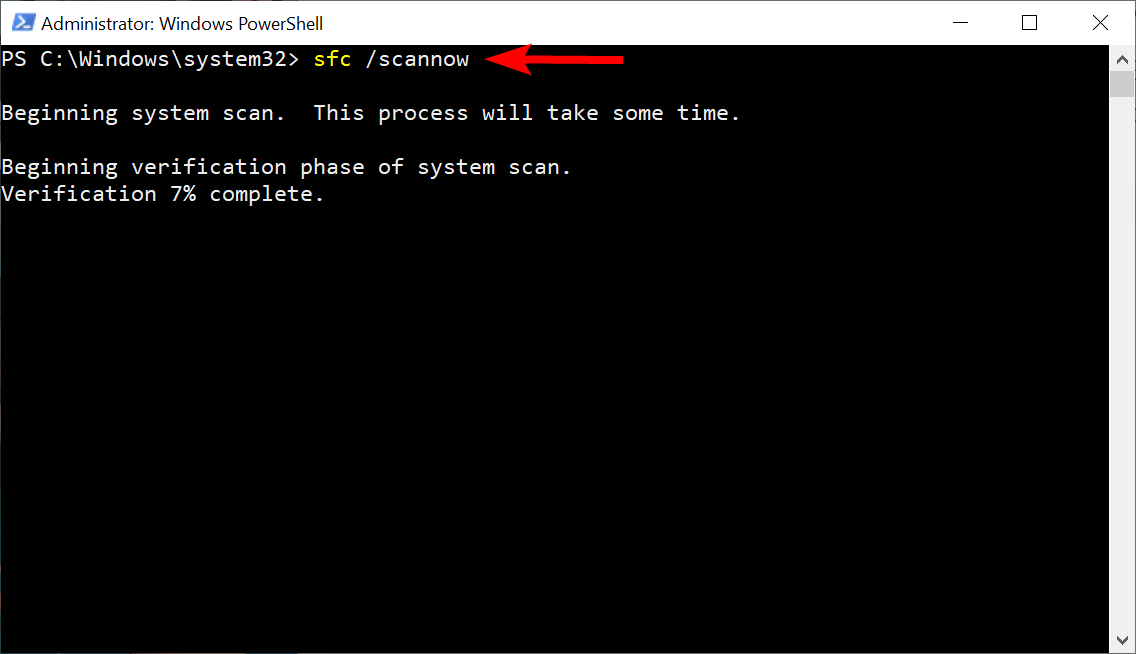
Wait for the process to complete.
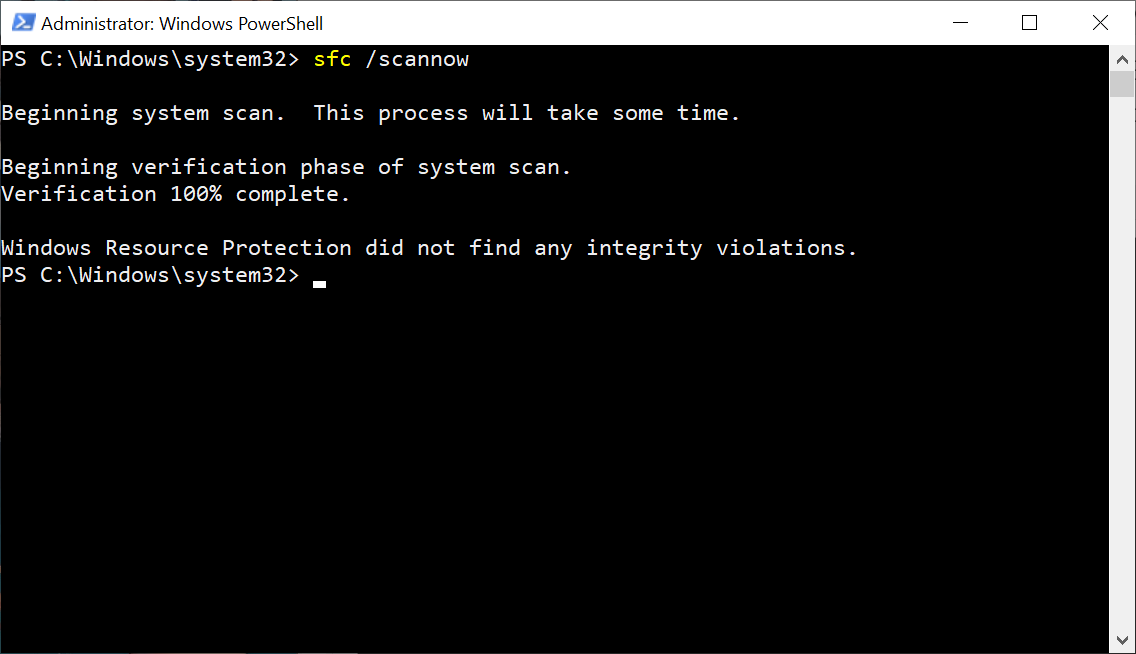
Now if SFC has found no issues (like shown in the image above), then you should be OK. However, if SFC finds issues that it cannot fix, or if you’re experiencing more significant problems, you can then run DISM. This tool can help fix issues that SFC might not be able to address. You can run it with the command: DISM /Online /Cleanup-Image /RestoreHealth
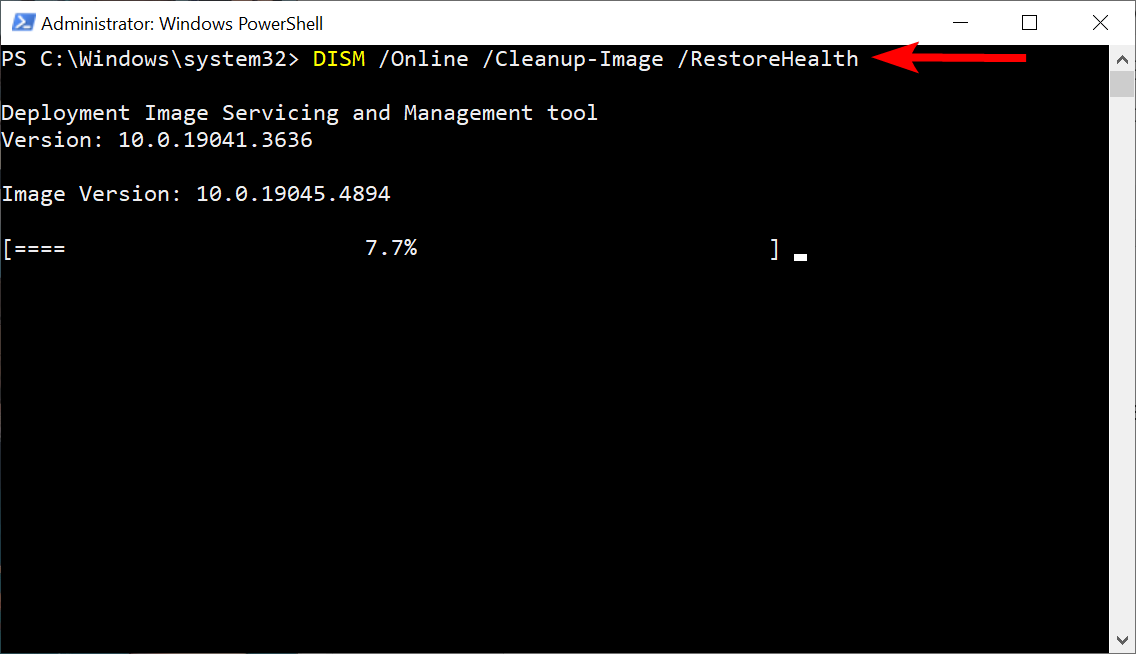
Wait for the process to complete.
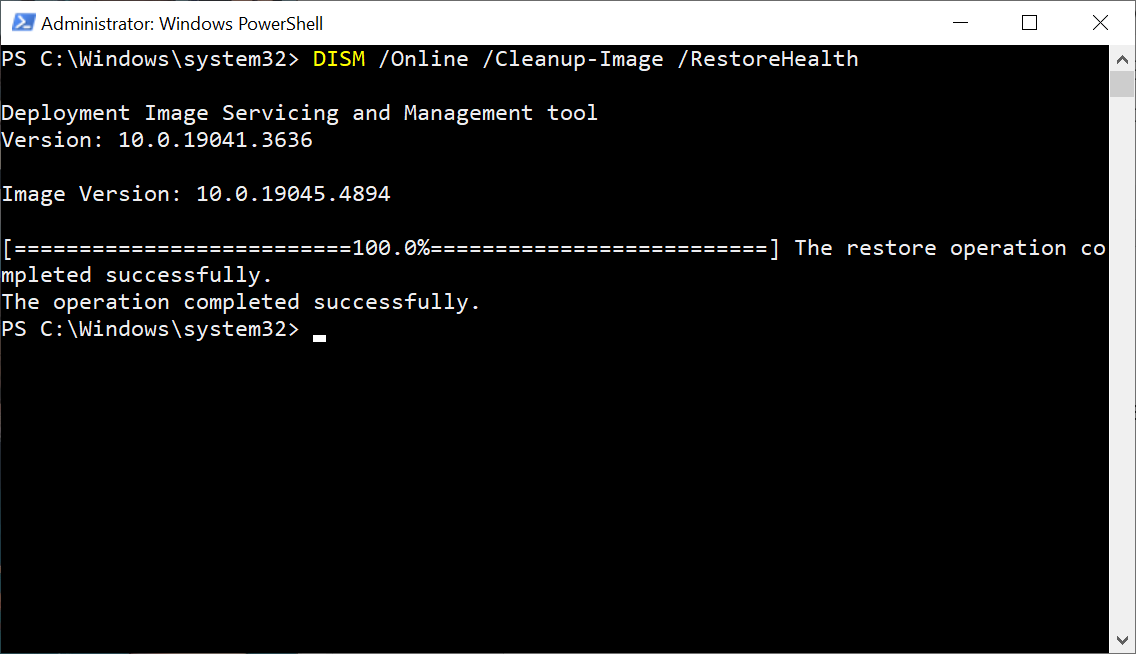
Please note that in some cases, system file corruption can be too severe for these tools to resolve. If that’s the case, you may need to restore from a system backup (if available) or perform a complete re-installation of Windows.
Posted in Code Snippet, Command Prompt, Computers, Internet and Servers, Operating Systems, PowerShell, Software, Tips & Tutorials