How to Show File Extensions and Hidden Files and Folders on Windows 11
In this blog post, I will explain how to show file extensions, and how to view hidden files and folders on your Windows 11 system.
By default, Windows 11 hides file extensions, and any files and folders marked with the attribute “hidden”. At some point, you may have a need to change a file’s extension manually (e.g., “.txt” to “.ini“). It can also be useful to see any hidden files and folders on your computer.
No reboot is required for these changes to take effect.
- Open the File Explorer.
- If you wish, you can use the [ Windows Key + E ] keyboard combination to open File Explorer.
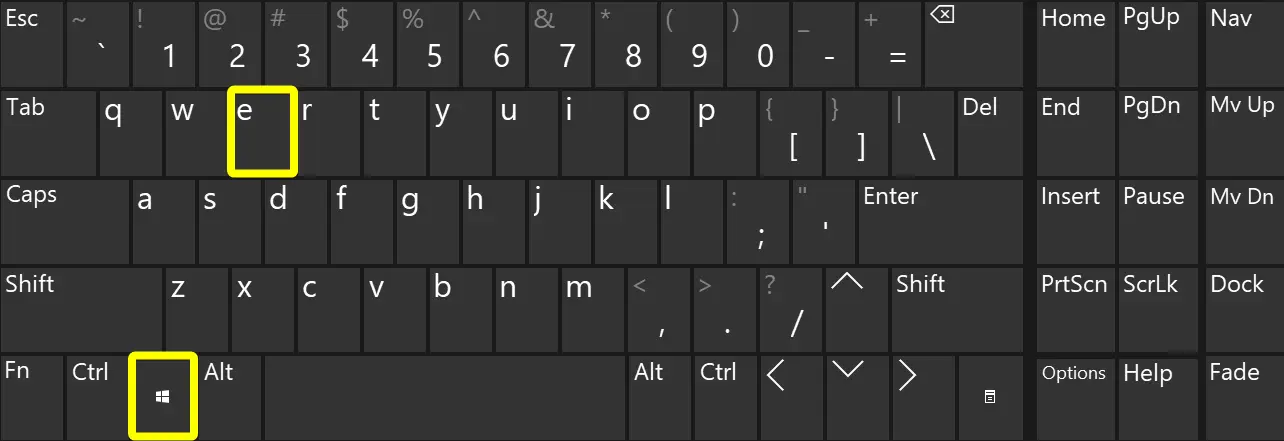
- If you wish, you can use the [ Windows Key + E ] keyboard combination to open File Explorer.
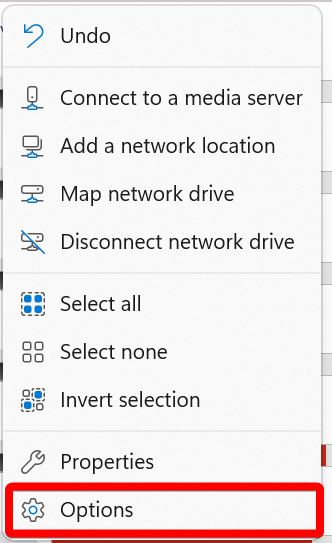
- After the File Explorer opens, click on the ellipsis menu button.

- Now click on the “Options” menu item.
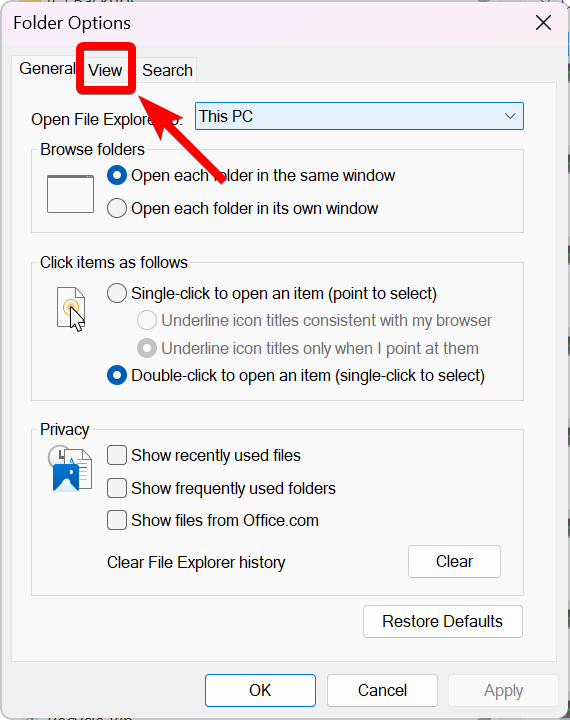
- Click on the “View” tab.
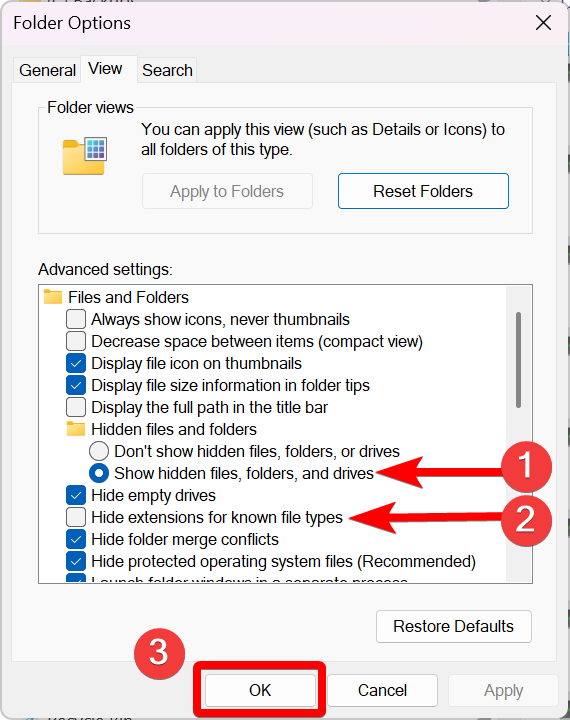
- Now do the following:
- Select the option, “Show hidden files, folders, and drives” (under “Hidden files and folders”).
- Uncheck the option, “Hide extensions for known file types”.
- Click the “OK” button.
That’s it. You now can view file extensions, and view any hidden files and folders on your Windows 11 computer.
I hope you found this tutorial helpful.
Posted in Computers, Internet and Servers, Operating Systems, Tips & Tutorials
Are Web Browser Extensions Safe to Use? (2025 Update)
Several years ago, I wrote about the potential risks associated with web browser extensions (also referred to as “add-ons”) being able to abuse their power and access sensitive user data.
I said if someone has installed a malicious browser extension, their web browsing data (e.g., browsing history, password credentials, what they type into a website, etc.) may get sent directly to the extension’s creator, putting the user’s online security and privacy at risk.
Today, I received an email with a link to a news article, explaining how 18 separate web extensions for Edge and Google Chrome were caught spying on people.
Here is the link to the article: https://www.malwarebytes.com/blog/news/2025/07/millions-of-people-spied-on-by-malicious-browser-extensions-in-chrome-and-edge
[Click here to view article as a PDF.]
This just goes to show, always be mindful about which web browser extensions you choose to install.
Update 08-22-2025
Here’s another example of why you should be careful with web browser extensions.
Chrome VPN Extension With 100k Installs Screenshots All Sites Users Visit
Posted in Android, Computers, General, Internet and Servers, Mobile Phone, Security, Software
How to Reboot Windows using PowerShell for Windows
In this blog post, I will show how to reboot Windows using PowerShell.
As you know, rebooting Windows is typically done through the graphical interface, but understanding how to reboot Windows using PowerShell can be beneficial for various reasons (e.g., automation tasks, install scripts, etc.). Also, you may find yourself in a Windows environment that requires the use of the command line (e.g., Server Core).
You don’t need administrator privileges to reboot a desktop version of Windows, but you do need them to reboot a Windows Server.
To reboot Windows from the command line, run the following command in a PowerShell terminal.
Restart-Computer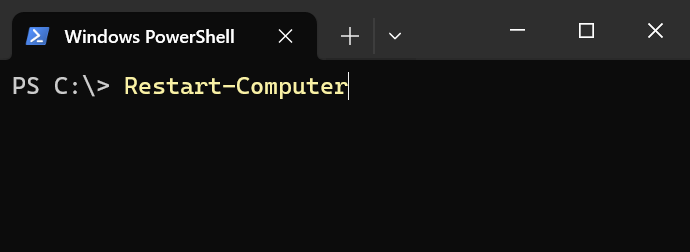
If you need to forcefully reboot Windows (without waiting for all the programs to close first), use the “-Force” switch.
Restart-Computer -Force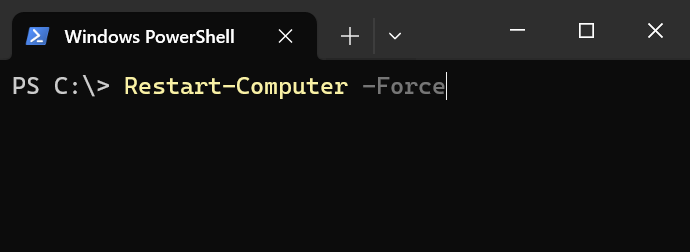
Posted in Code Snippet, Command Prompt, Computers, Internet and Servers, Operating Systems, PowerShell, Tips & Tutorials
How to Disable Windows Memory Compression for Windows 10/11
In this blog post, I will explain how to disable memory compression on a Windows 10/11 system via PowerShell.
For those who don’t know, Windows compresses infrequently used memory instead of writing them to the page file. This way if your computer needs to use that particular data, it just has to decompress it in memory rather than access the much slower page file on your hard drive or SSD.
Since memory compression uses up CPU cycles, this can potentially slow down a computer.
Interesting Fact: Microsoft disables memory compression, by default, on Windows Servers. That right there tells you memory compression can potentially slow down a computer system.
Disabling memory compression on computers with limited RAM ( < 16GB ) can decrease performance rather than improve it. It is always recommended to run benchmarks before and after disabling memory compression to verify that you indeed received a performance increase from turning off memory compression.
To disable memory compression on Windows 10/11, run the following command in an Administrator PowerShell terminal.
Disable-MMAgent -mc

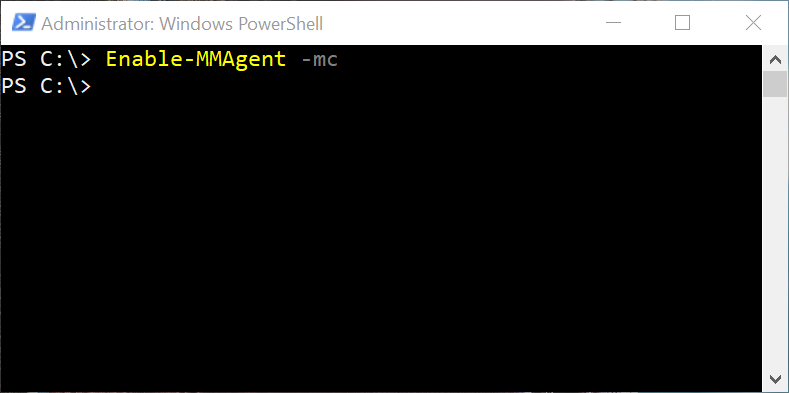
Of course, if you wish to re-enable memory compression, just type the following command.
Enable-MMAgent -mc
It would probably be a good idea to reboot Windows after disabling or enabling memory compression to make sure the change is applied.
Posted in Code Snippet, Command Prompt, Computers, Internet and Servers, Operating Systems, PowerShell, Tips & Tutorials